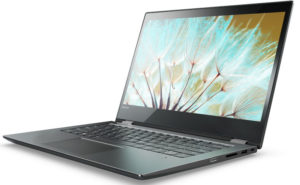
Inside Lenovo Yoga 520 (Flex 5) – disassembly, internal photos and upgrade options
The Lenovo Flex 5 looks like a normal mid-range convertible, right? well, if you dig deep enough, you will see some cool features that are not necessarily inherent to 14-inch 2-in-1s. Also, the access to the hardware is pretty easy.
You can find the available configurations here: http://amzn.to/2xaEZal
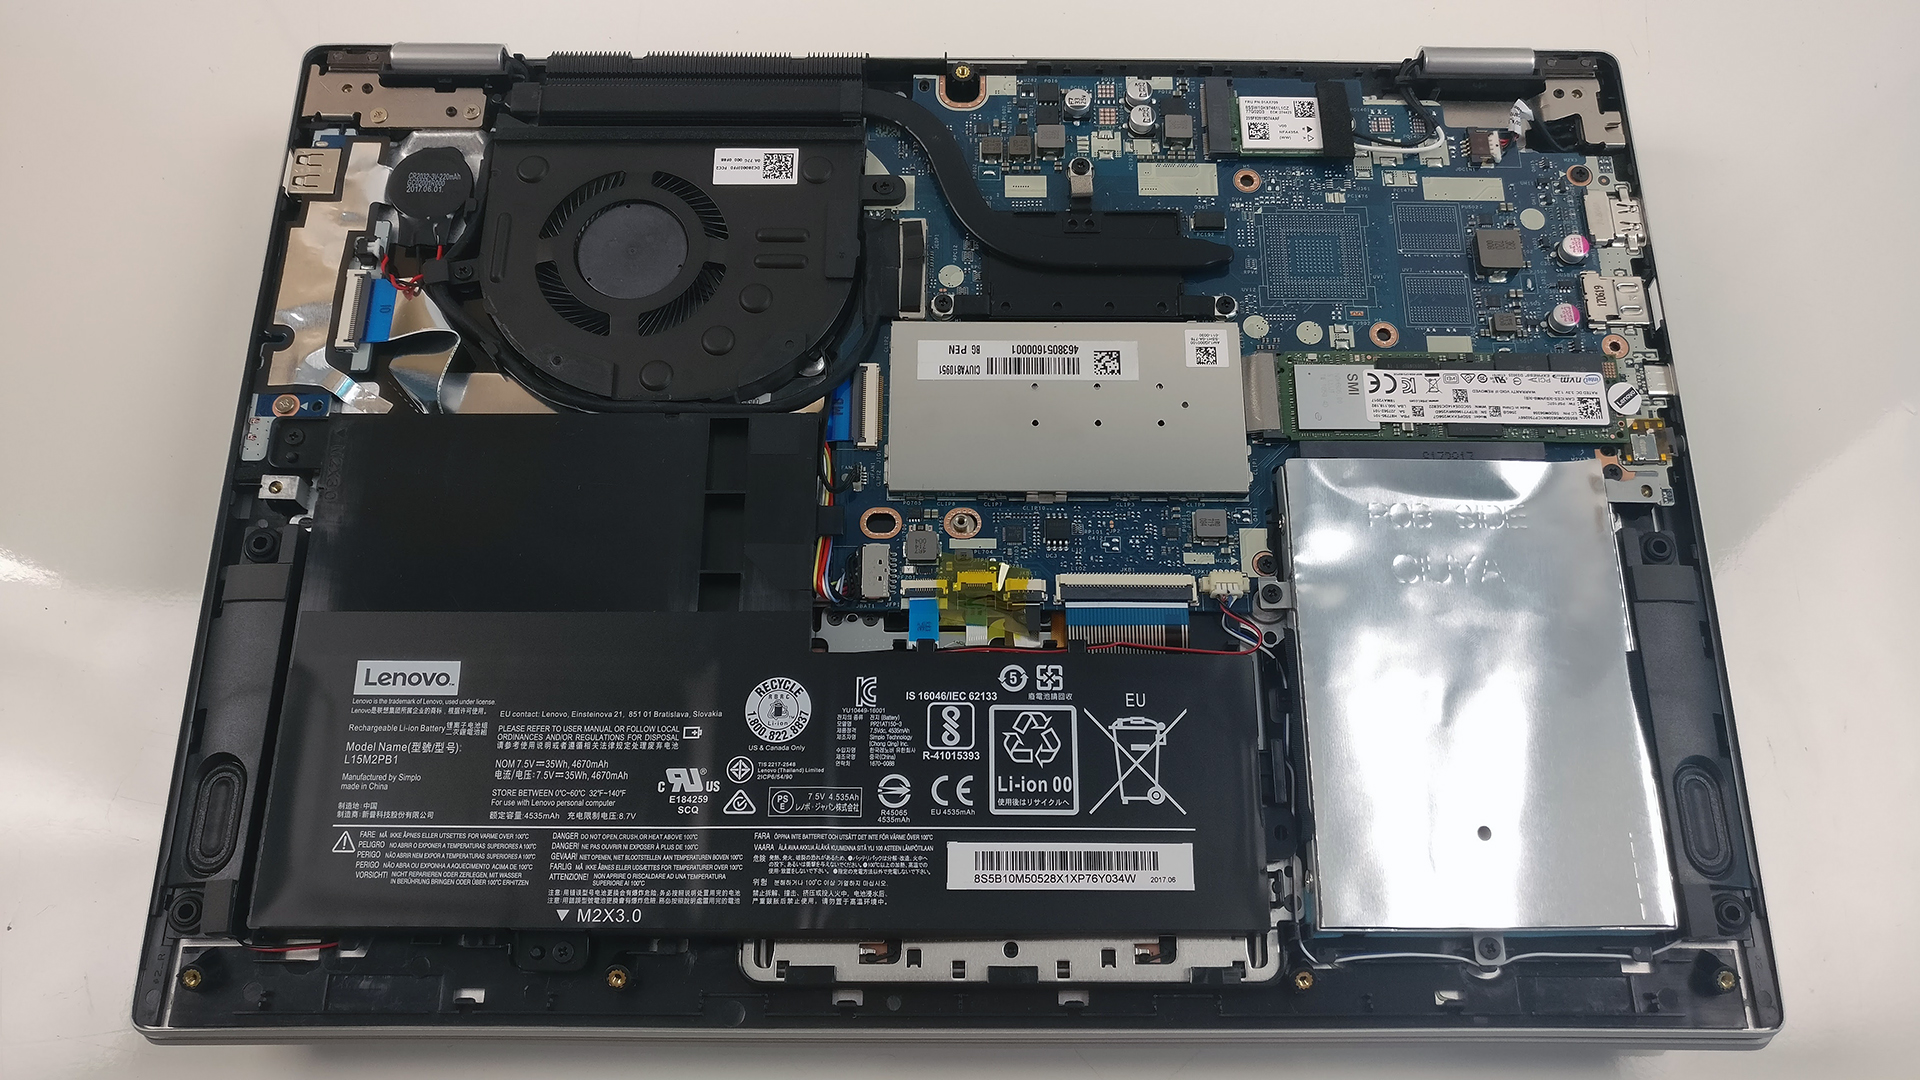
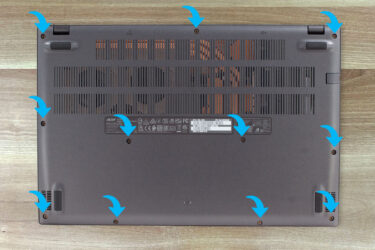
1. Removing the bottom plate
To detach the bottom piece, you will just have to remove all the screws around the bottom and then gently pry it up. This will give you access to all of the internals.

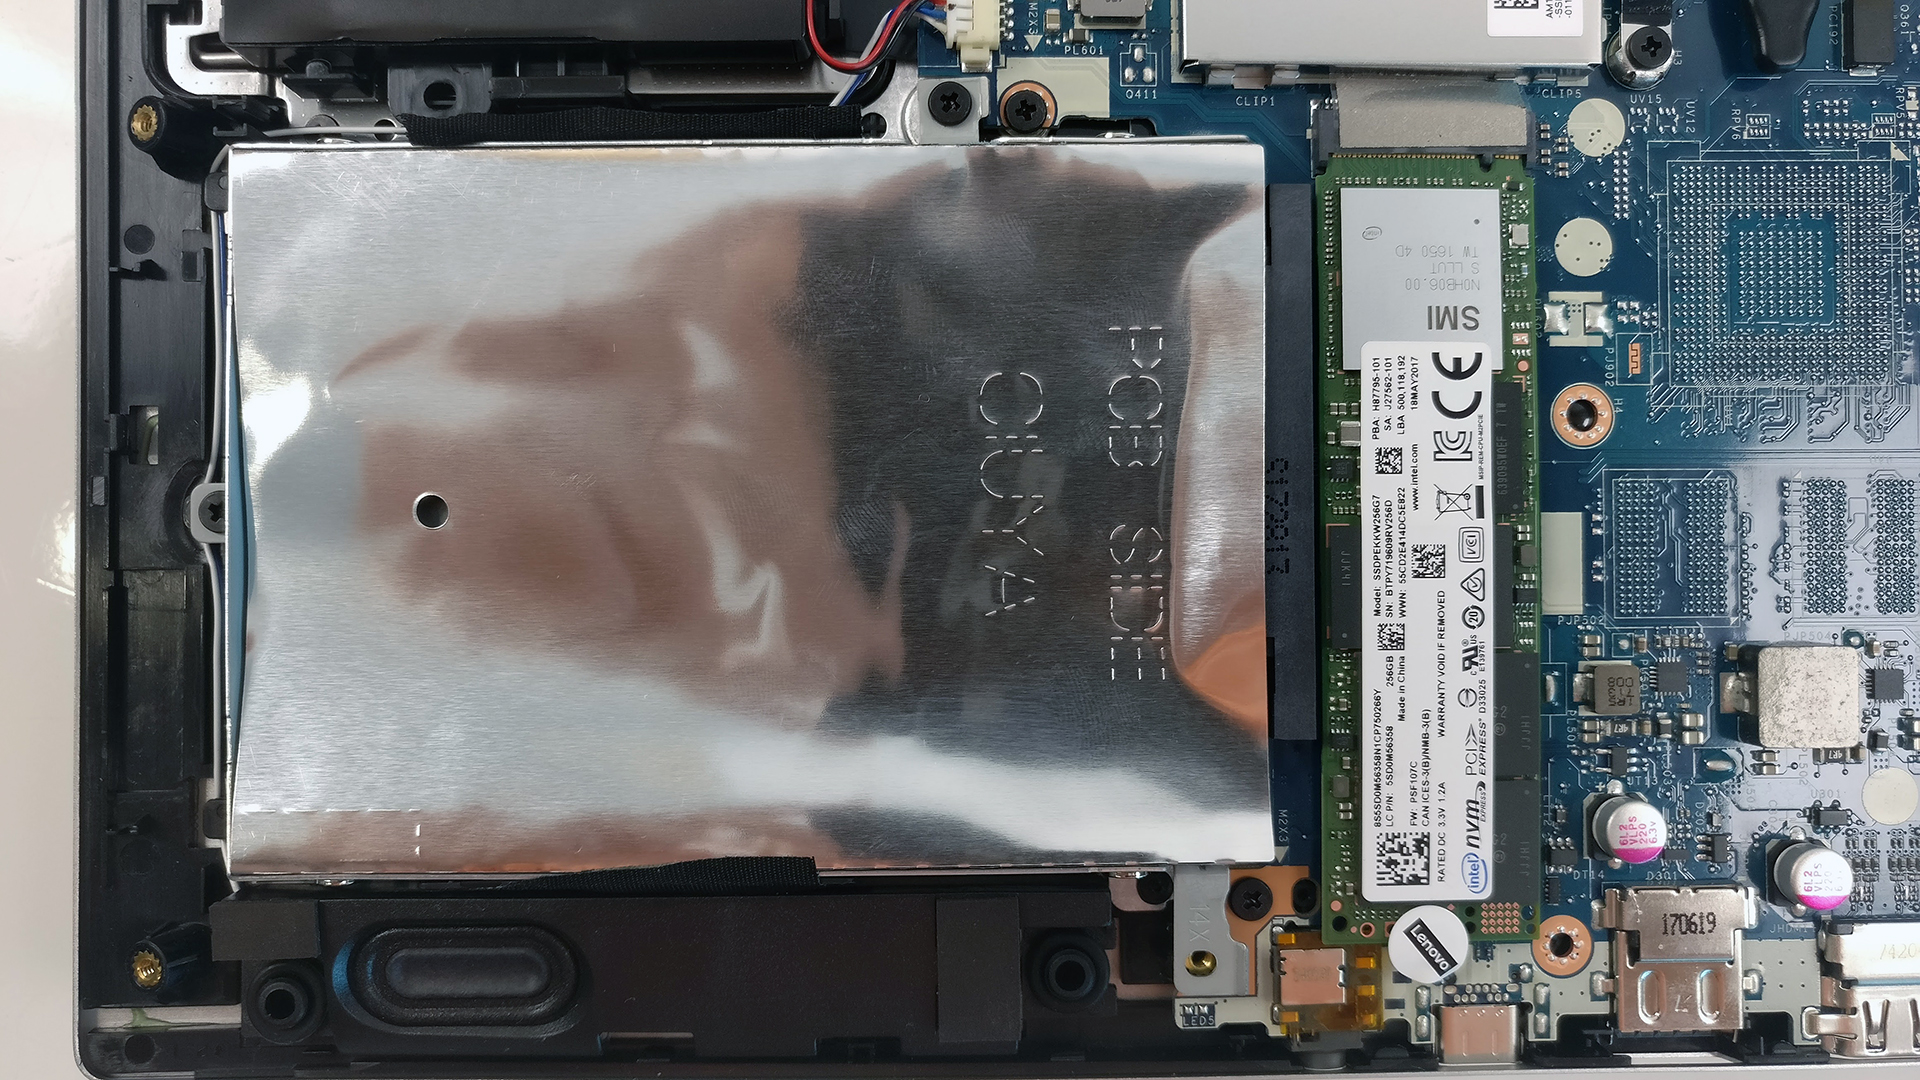
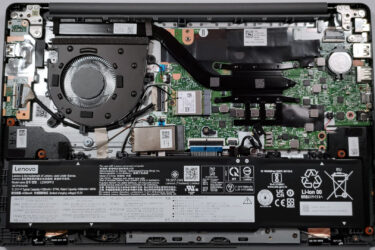
2. Storage
This small chassis holds the usual M.2 SSD slot and another 2.5-inch drive bay. Our unit, in particular, came only with an M.2 PCIe NVMe SSD from Intel with 256GB capacity leaving the 2.5-inch HDD/SSD slot free for upgrade. Usually, 14-inch convertibles don’t have the 2.5-inch bay so this is a big bonus to consider.

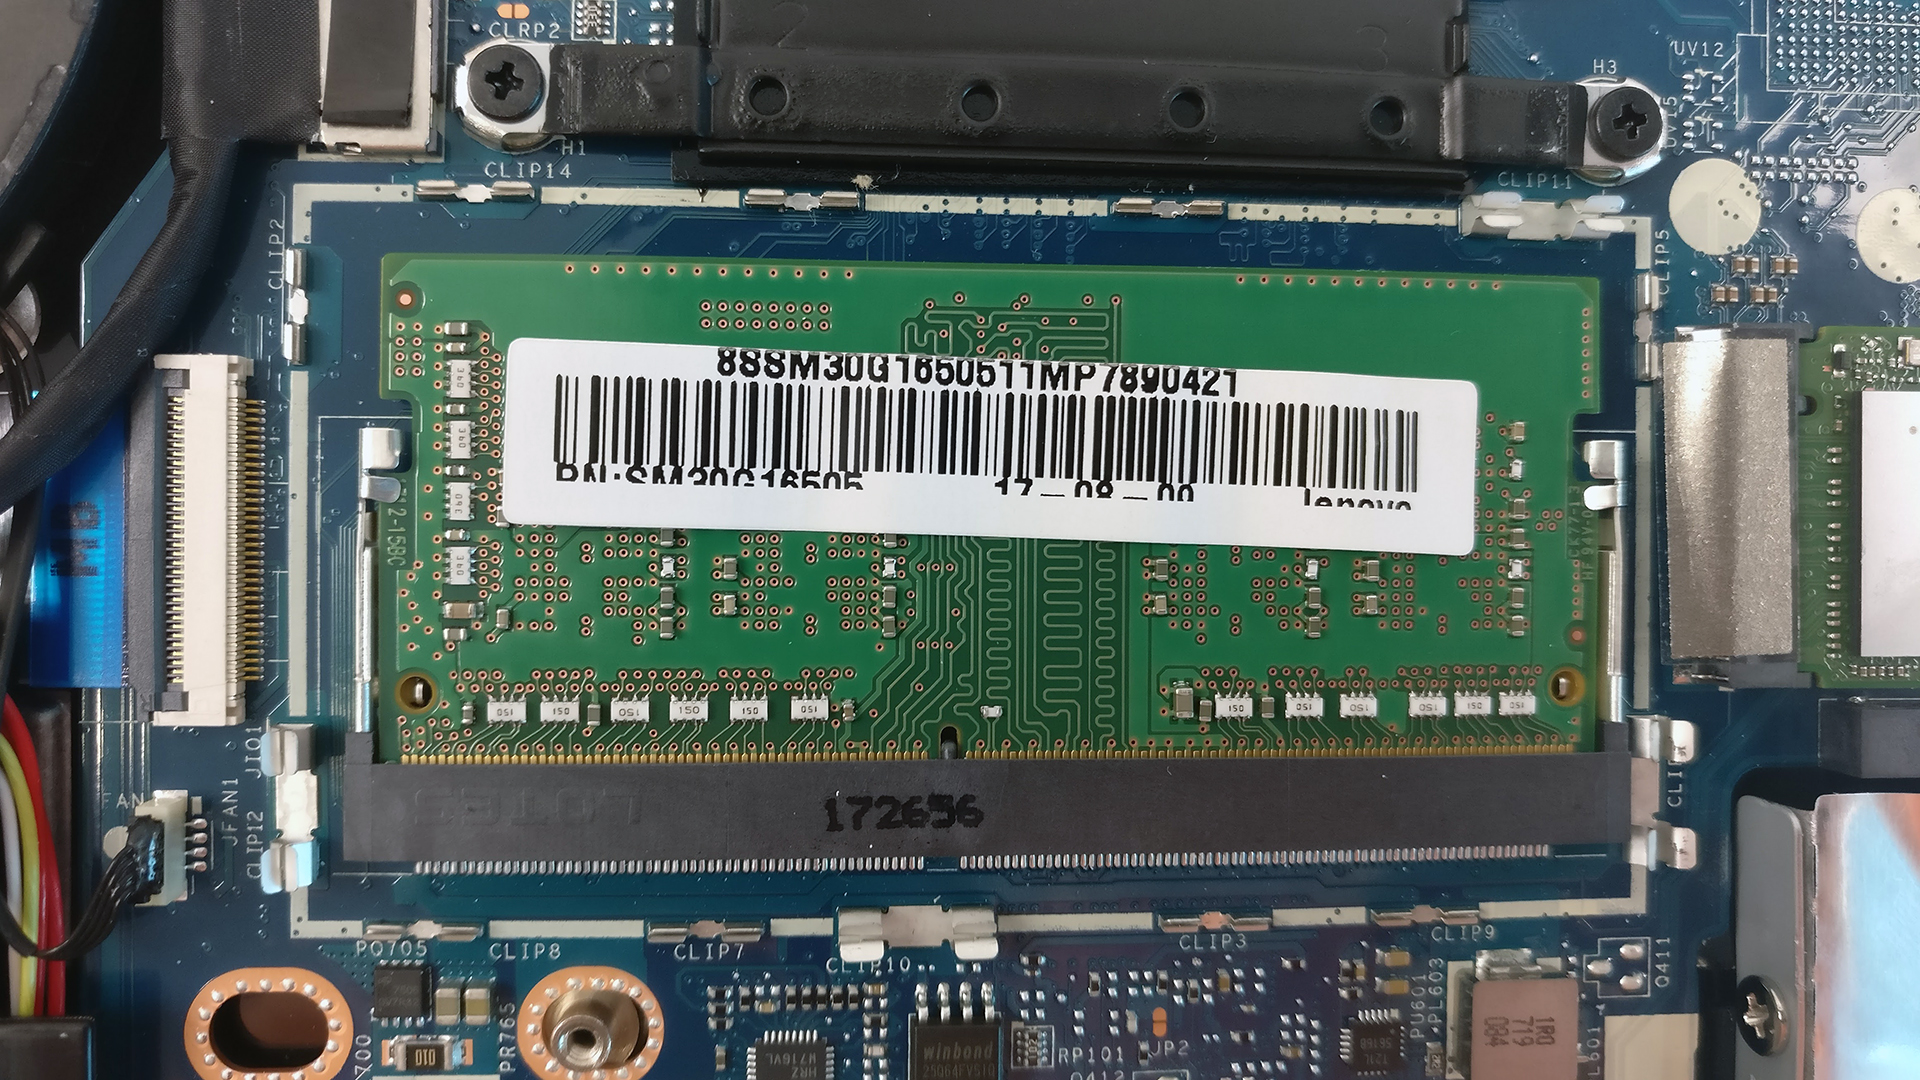
3. Memory, battery and Wi-Fi
Surprisingly, the motherboard has one RAM chip slot that can be filled with up to 16GB of DDR4-2400 RAM but the unit we’ve tested was equipped with a 4GB chip. The slot, however, is located under the small metal shield in the middle. It can be removed by loosening the clips holding it.

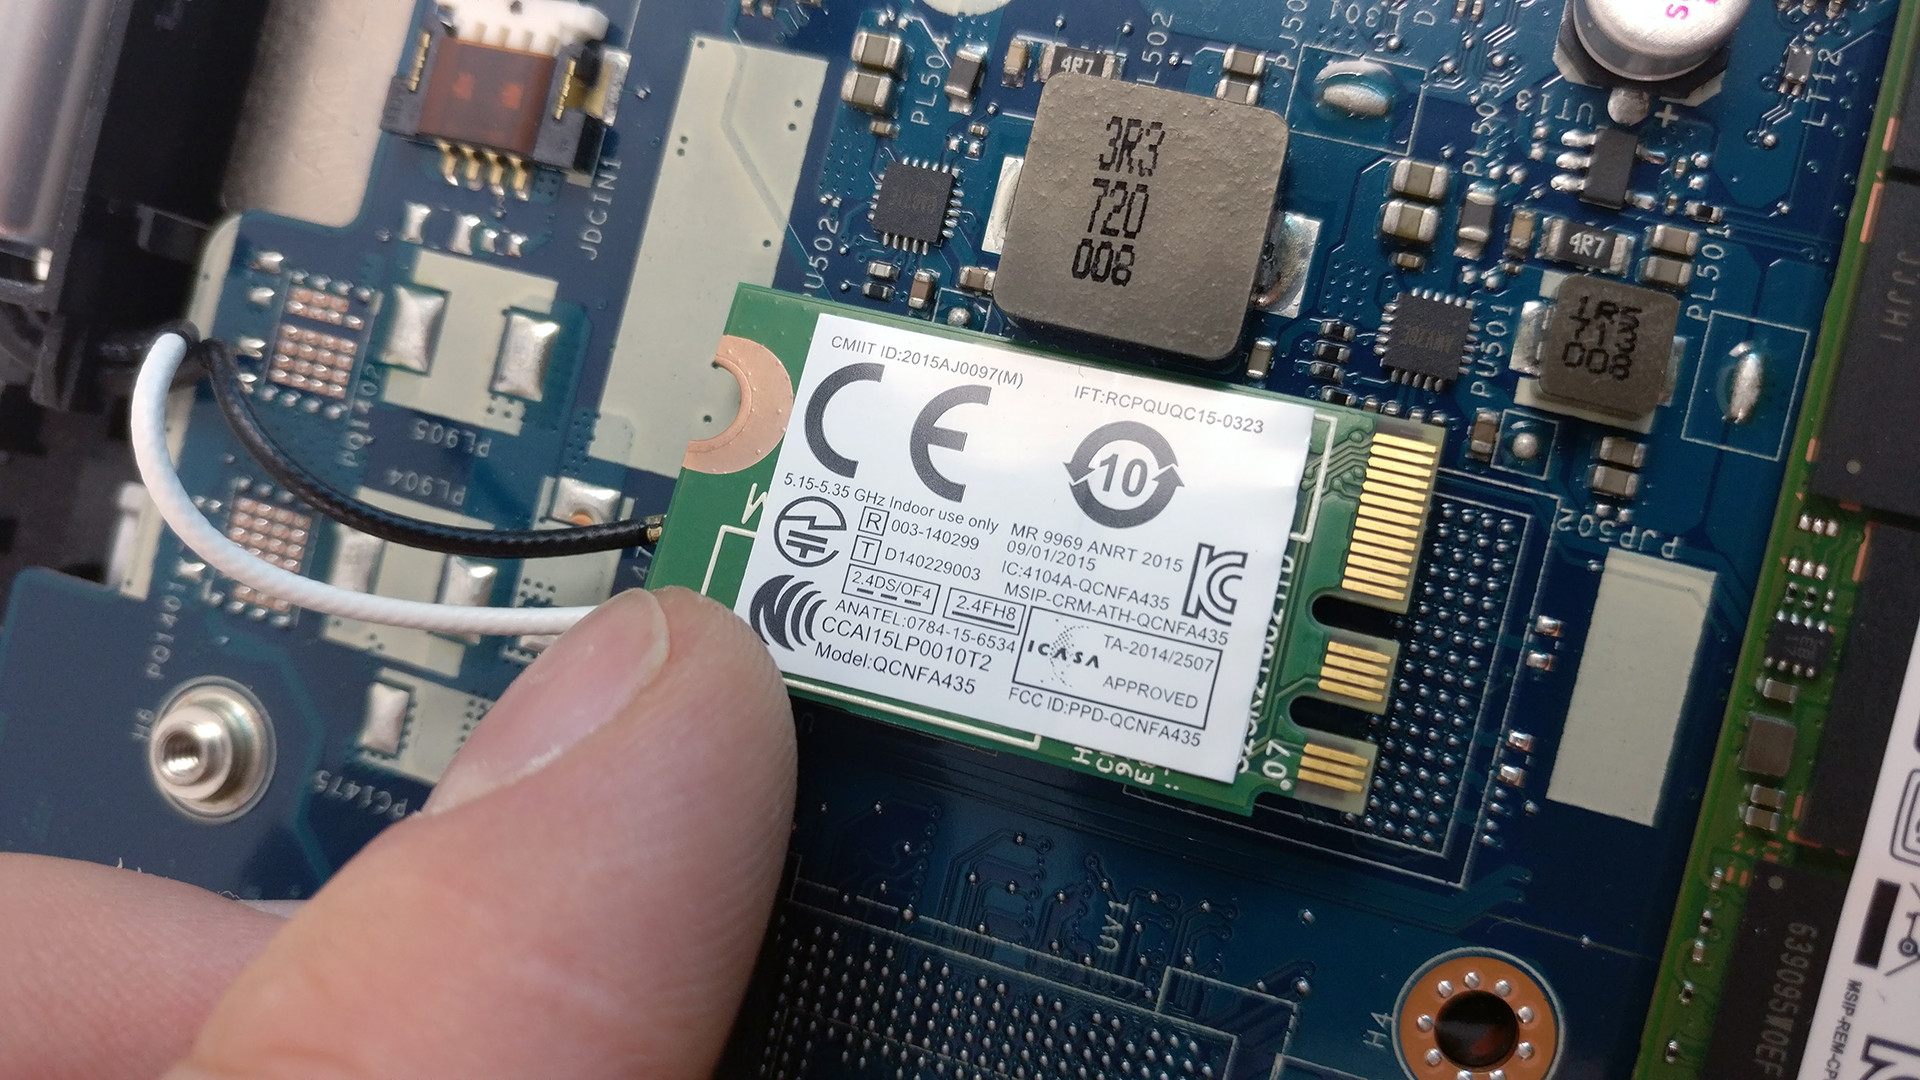
You can find the Wi-Fi adapter placed near one of the hinges and it’s Qualcomm QCNFA435.
Unfortunately, the battery is rather small and our endurance tests confirm that.

4. Cooling system
The cooling design is simple as it gets – just one short heat pipe connecting the cooling fan and the heat sink.

The full review of the Lenovo Yoga 520 (Flex 5) can be found here.


My YOGA 520 have a HDD and the input M.2 is free. Is it possible to install an Optane Memory? (32GB M.2 PCIe)
Optane’s are supported only by the 8th Generation of processors.
The information on Intel shows 7th gen
That’s for the desktop-grade processors but for laptops, for now only the 8th Generation supports Intel’s Optane.
should i use ssd M.2 NVMe or all type of M.2 SSD (B&M edge connector)?
Up,,, i have a same problem
“The battery is rather small and our endurance tests”
How long does the battery last?
You can read the full review of the notebook. We’ve provided a link towards the end of the article.
I want intall one M2, because my laptop came with 1tb HDD. I can use M2 and continue with my HDD? And need be M.2 NVMe or I can use other M2 SSD?
Please answer this question,,,
I Own The Same Laptop And Cannot Figure Out How To Remove The Shield On The Ram. Help?
Use a non-conductive flat head precision screw driver and wedge the pins around the shield outwards carefully. Once all pins have been pushed outward as far as they can go, the shield will lift off vertically. Just do the procedure in reverse to put back on.
Mine has a 1TB hdd. Can I clone my pre-installed windows 10 so onto a SSD and use both Ssd and hdd at same time in laptop?
yes. you don’t need to clone the disk.
Hi. I also own a lenovo yoga 520, but when I open task manager and look at memory it says that only 1 of 2 slots is used for the RAM. That means there has to be two slots right? However, there is only one slot! Or is there a slot hidden somewhere?
Will a regular SSD fit in the slot? I’ve tried a HDD from an old laptop, but it was too thick.
I’m thinking of buying a Samsung 860 EVO 500GB SSD (6.8mm), but first I want to be sure it fits 😉
tengo una lenovo yoga 520-14ikb con procesador intel i3, y me gustaria cambiarla por un i7 es posible y de ser posible como lo tengo que conseguir
Can we remove the 4GB RAM and replace it with a 16 GB RAM ?
Is the motherboard capable for 16 GB RAM in the lenovo yoga 520 ?
please answer.
Thank you!
i cannot seem to find the hard drive in my Lenovo flex 3. i know is strange but is it possible there is a chip instead?