Inside Lenovo Legion 7 (15) – disassembly and upgrade options
This year’s Legion 7 introduces many new features – the 10th Gen Comet Lake-H processors, NVIDIA RTX Super graphics cards and something interesting under the bonnet.
Check out all Lenovo Legion 7 (15) prices and configurations in our Specs System or read more in our In-Depth review.
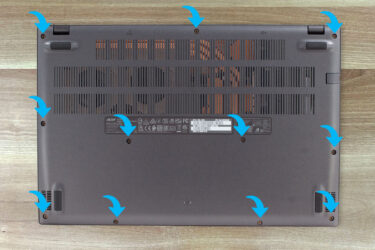
1. Remove the bottom plate
To get inside this device, you need to remove 10 Phillips-head screws. Then you need to pry your way around the base, starting from either of the front corners.
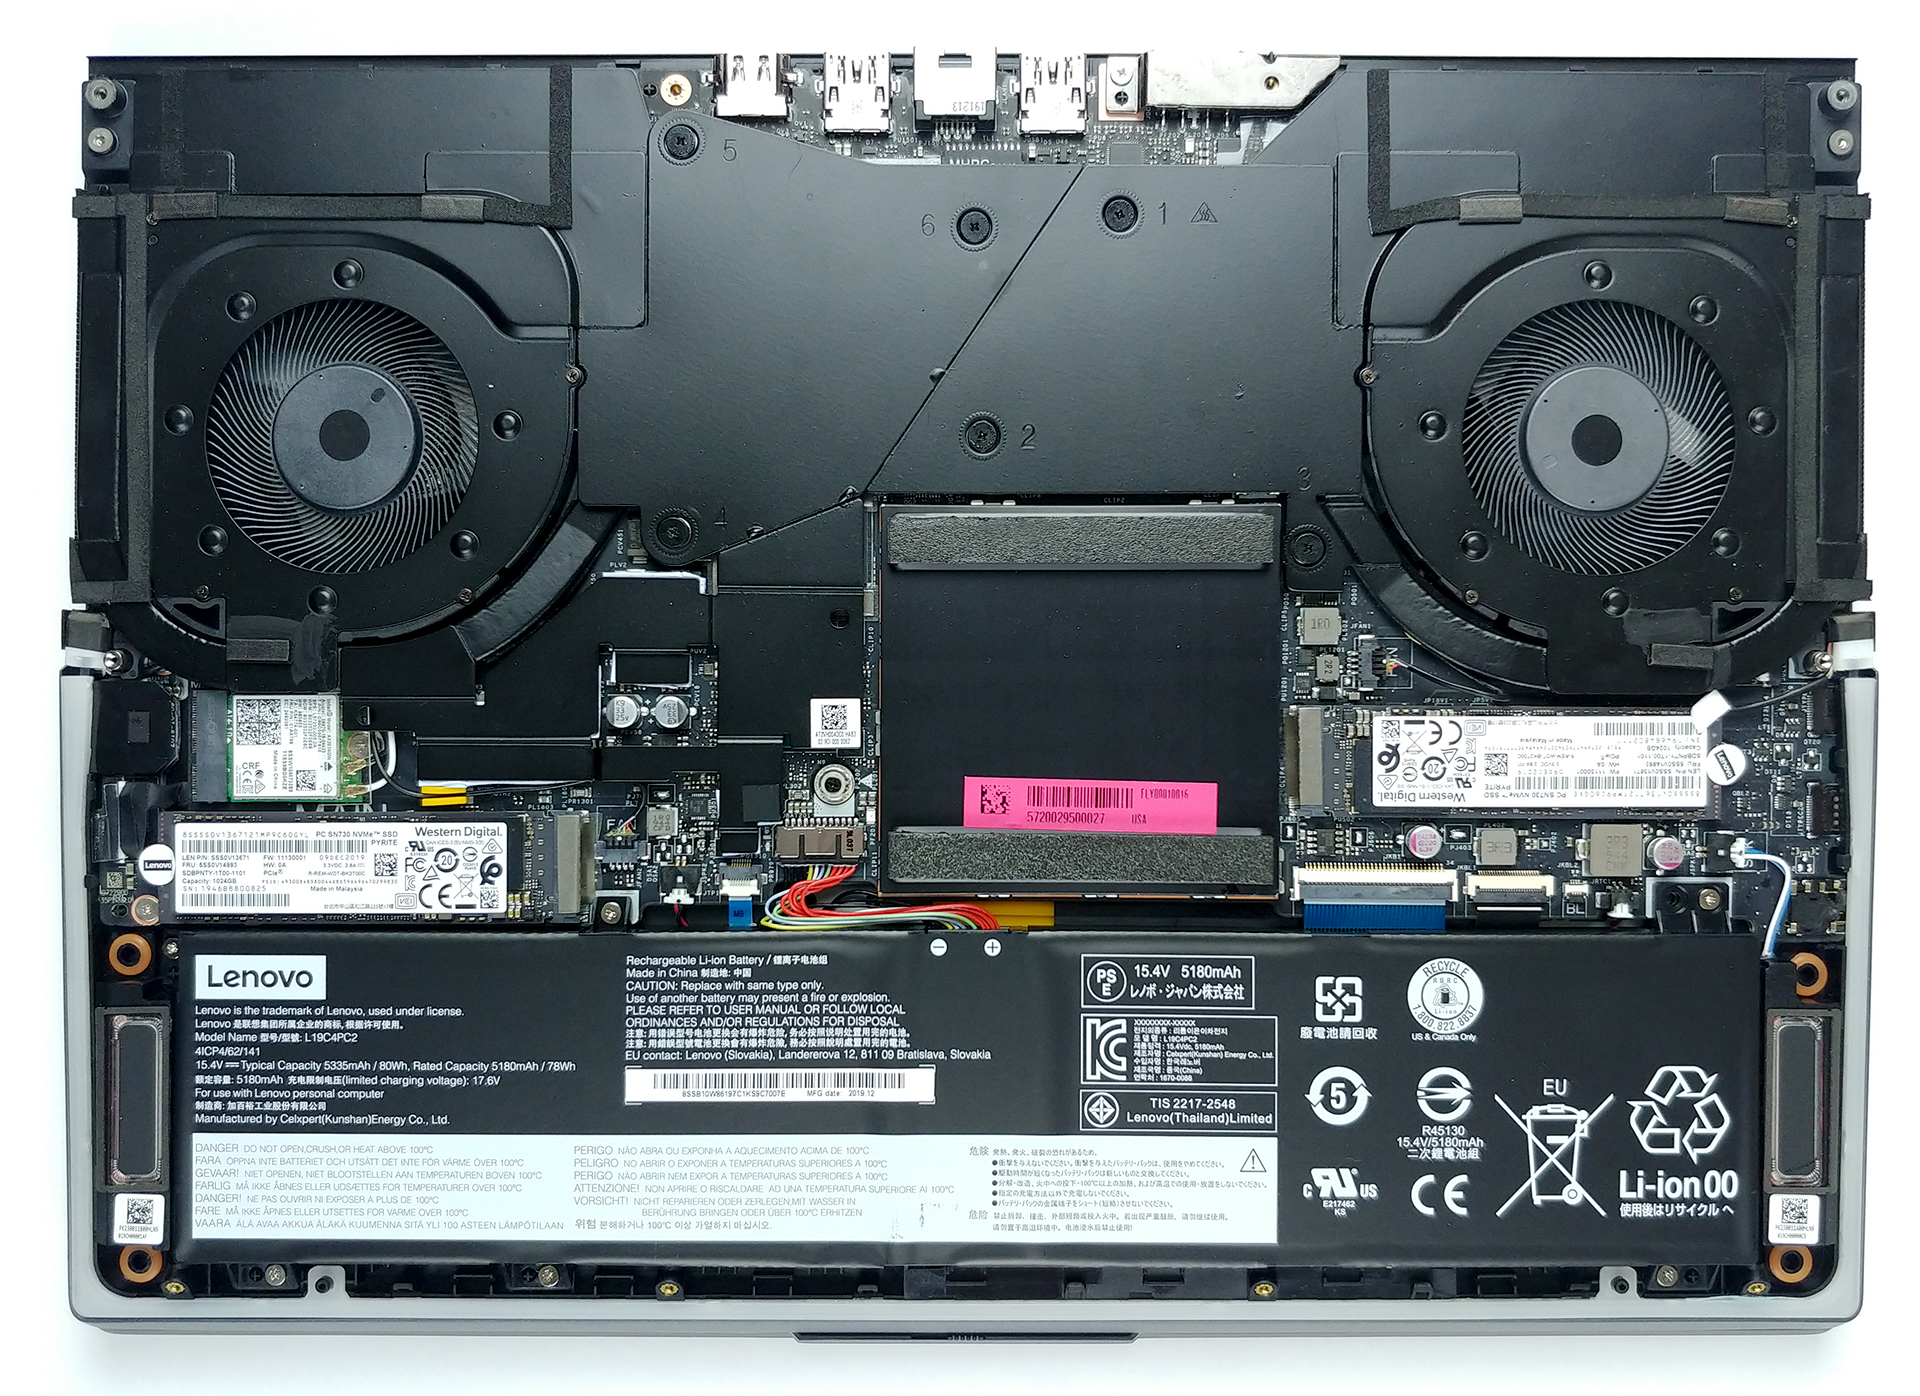
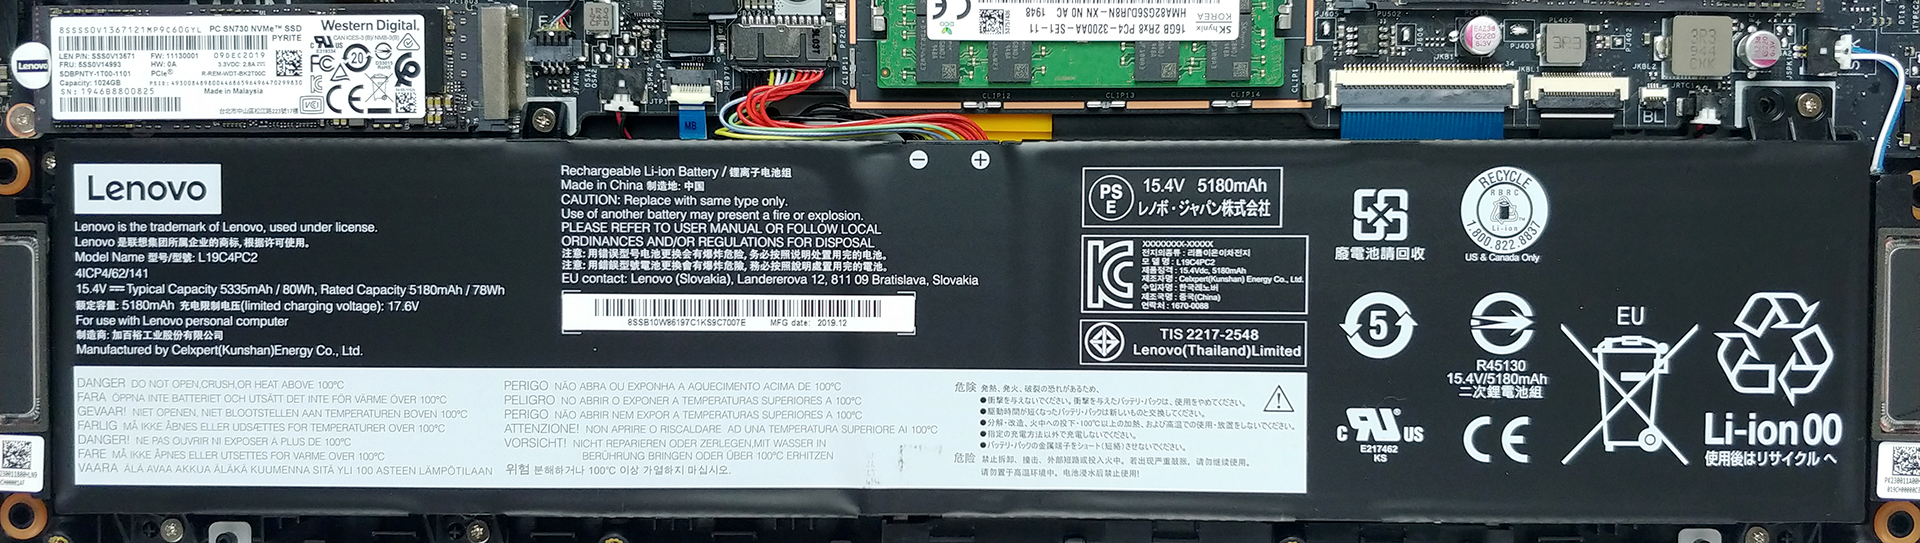
2. Battery
Thankfully, the battery has an 80Wh capacity, which supports what Lenovo calls the Rapid Charge Pro. Essentially, this enables it to get charged up to 50% for no more than 30 minutes.
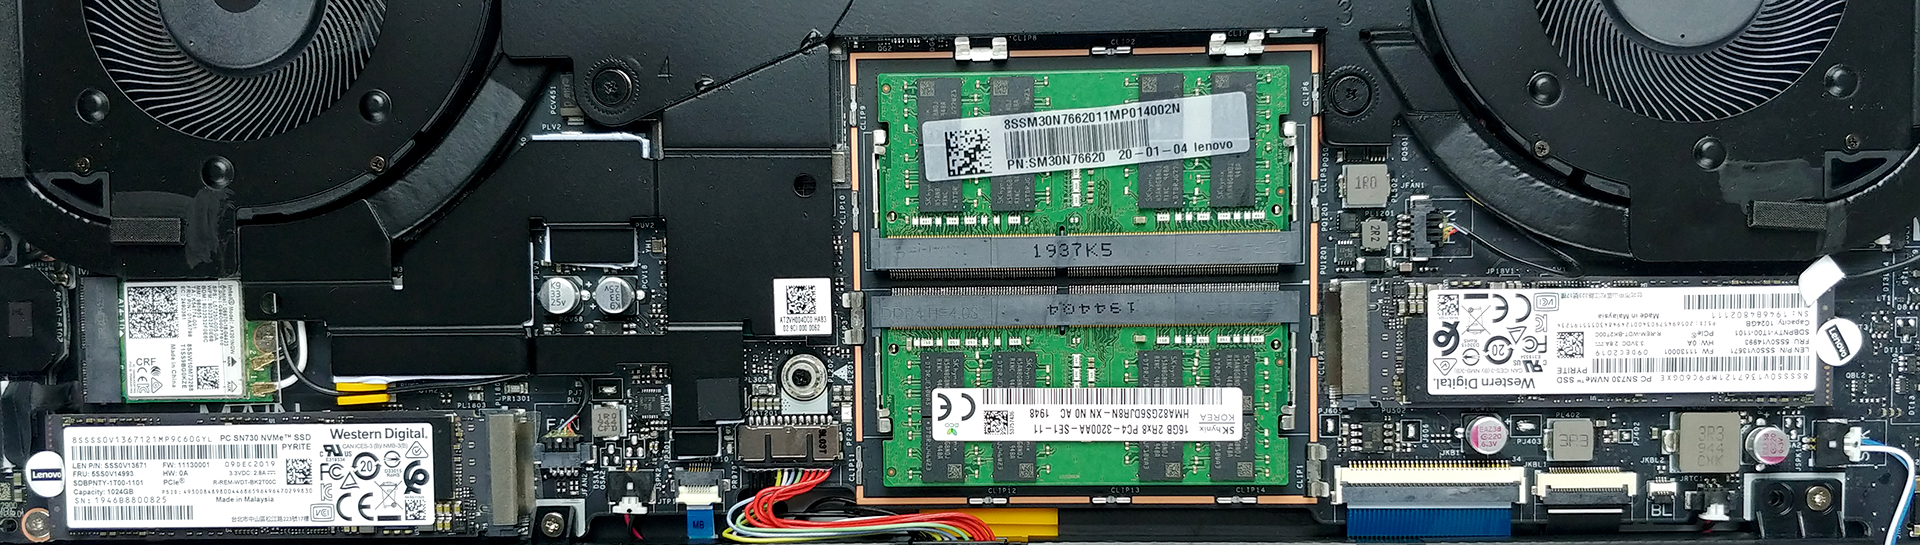
3. Memory and storage
As of the memory, there are two RAM SODIMM slots, supporting up to 32GB of DDR4 memory. Now, the Core i7-10875H and the Core i9-10980HK versions support speeds up to 3200 MHz, while the other two options go as high as 2933 MHz. Storage-wise, there are two M.2 PCIe x4 slots, which can run independently or in RAID 0 mode.
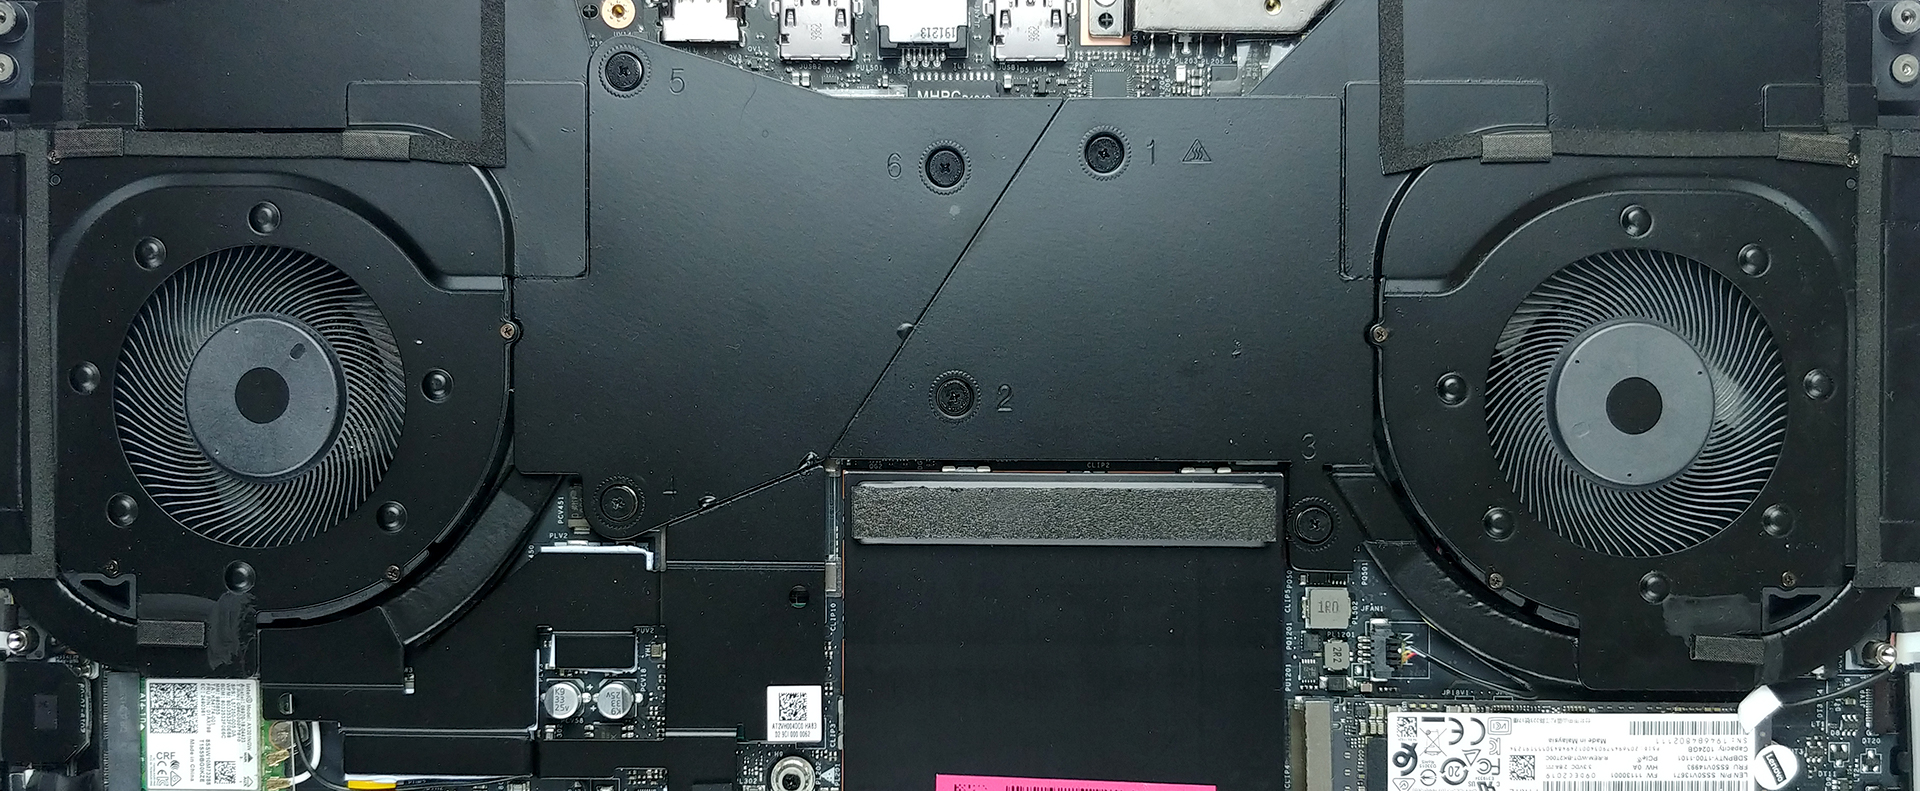
4. Cooling system
One of the big deals with this Legion 7 is its cooling. Interestingly, Lenovo has diverted from the conventional way of putting a ton of heat pipes. Instead, they opted for something that looks like a huge vapor chamber plus two tiny heat pipes supposedly cooling the VRMs and the graphics memory.
Check out all Lenovo Legion 7 (15) prices and configurations in our Specs System or read more in our In-Depth review.


can you remove the fans from the heatsink ? like partially just removing the fan plate attached to the heat sink ?