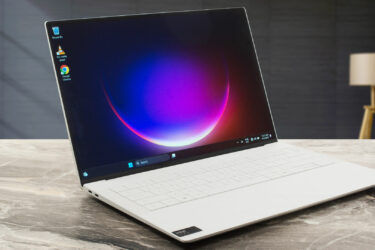
Inside Dell XPS 13 9380 – disassembly and upgrade options
Dell XPS 13 9380 is the last of the 9000 series XPS devices. After that, we see a rebranding in the number part of the name of these notebooks. Now let’s see what’s inside a premium ultrabook, shall we?
Check out all Dell XPS 13 9380 prices and configurations in our Specs System or read more in our In-Depth review.

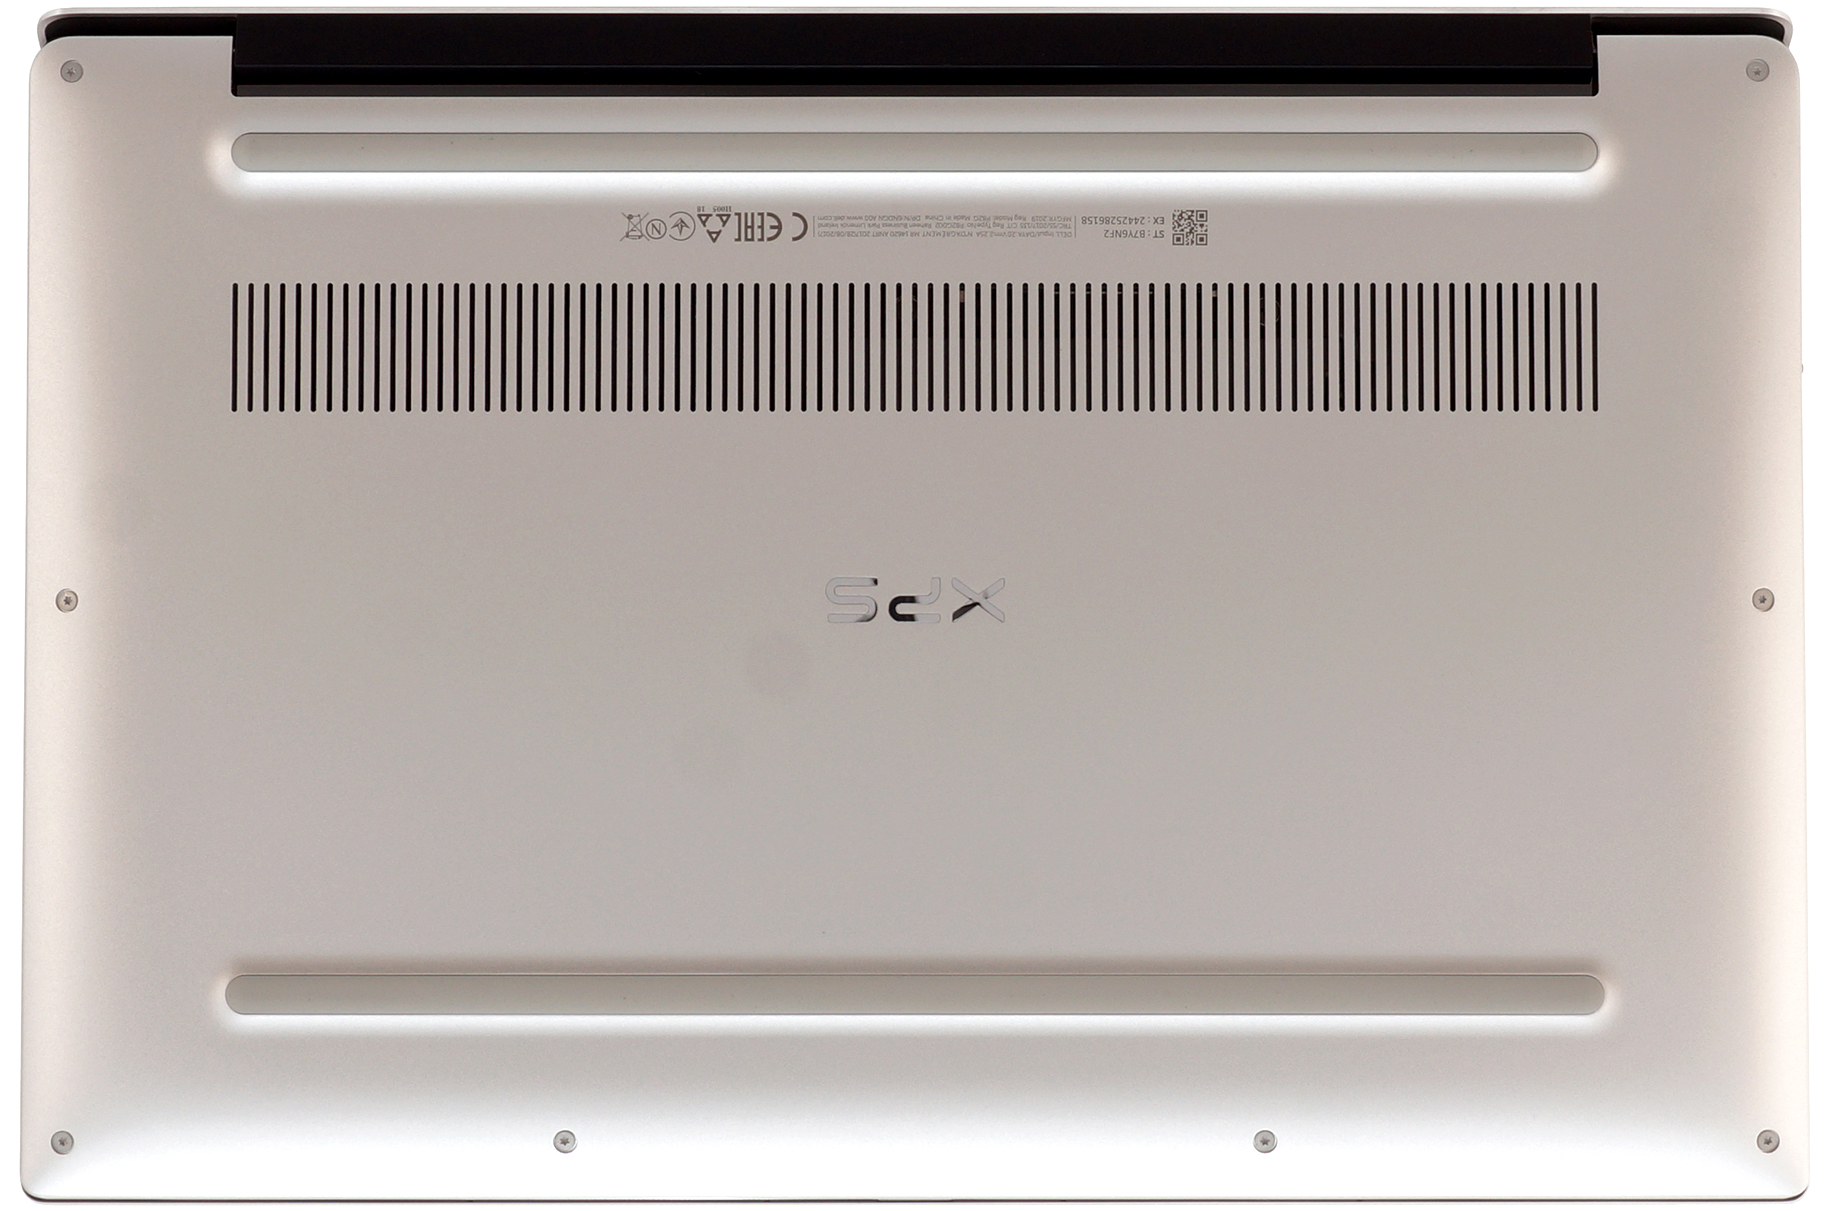
1. Remove the bottom plate
Dell XPS 13 9380’s backplate is held in place by 8 Torx-head screws (T5). After you unscrew them be very careful with the prying process since the material underneath it is pretty fragile.
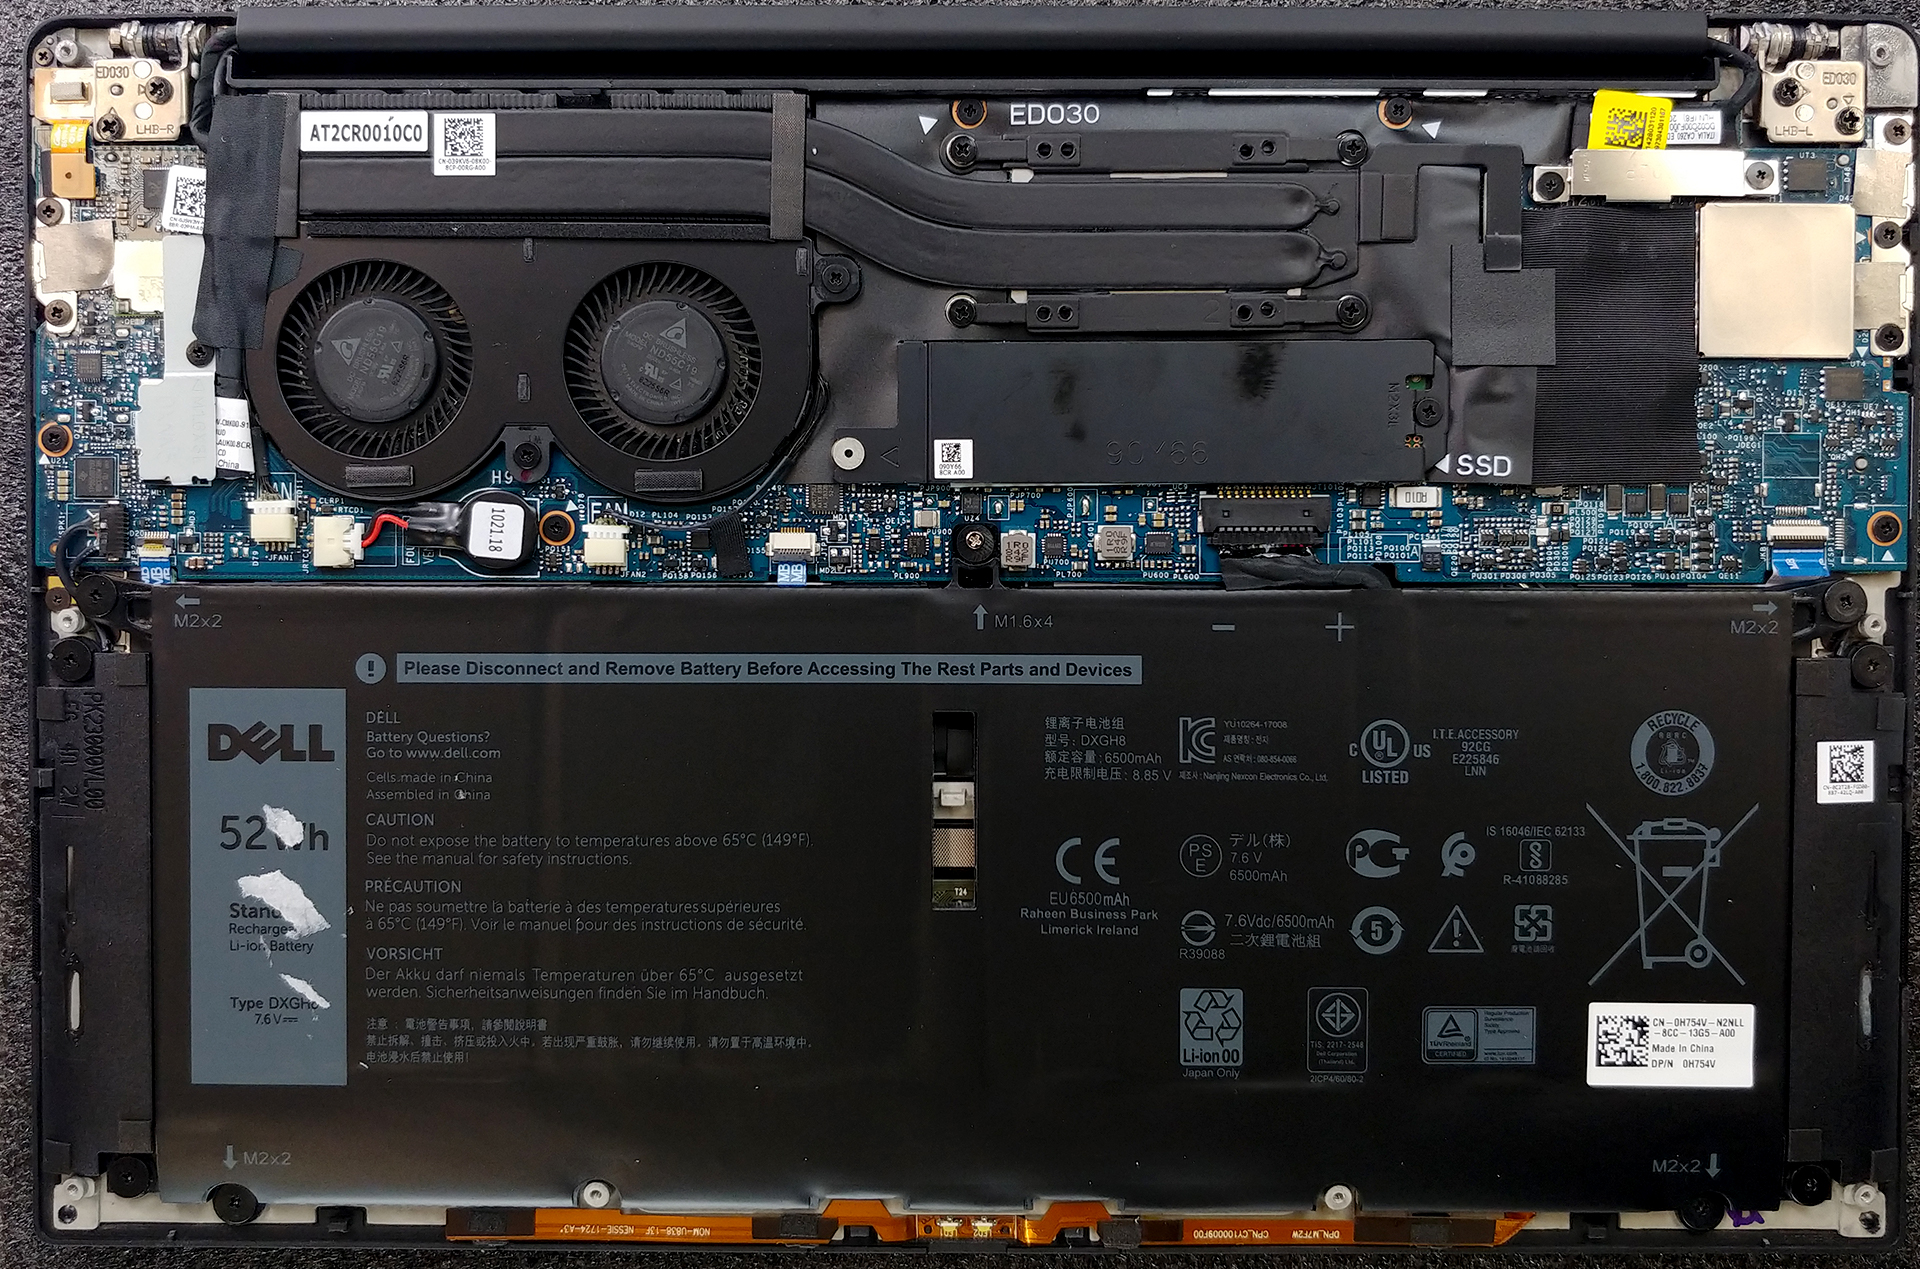
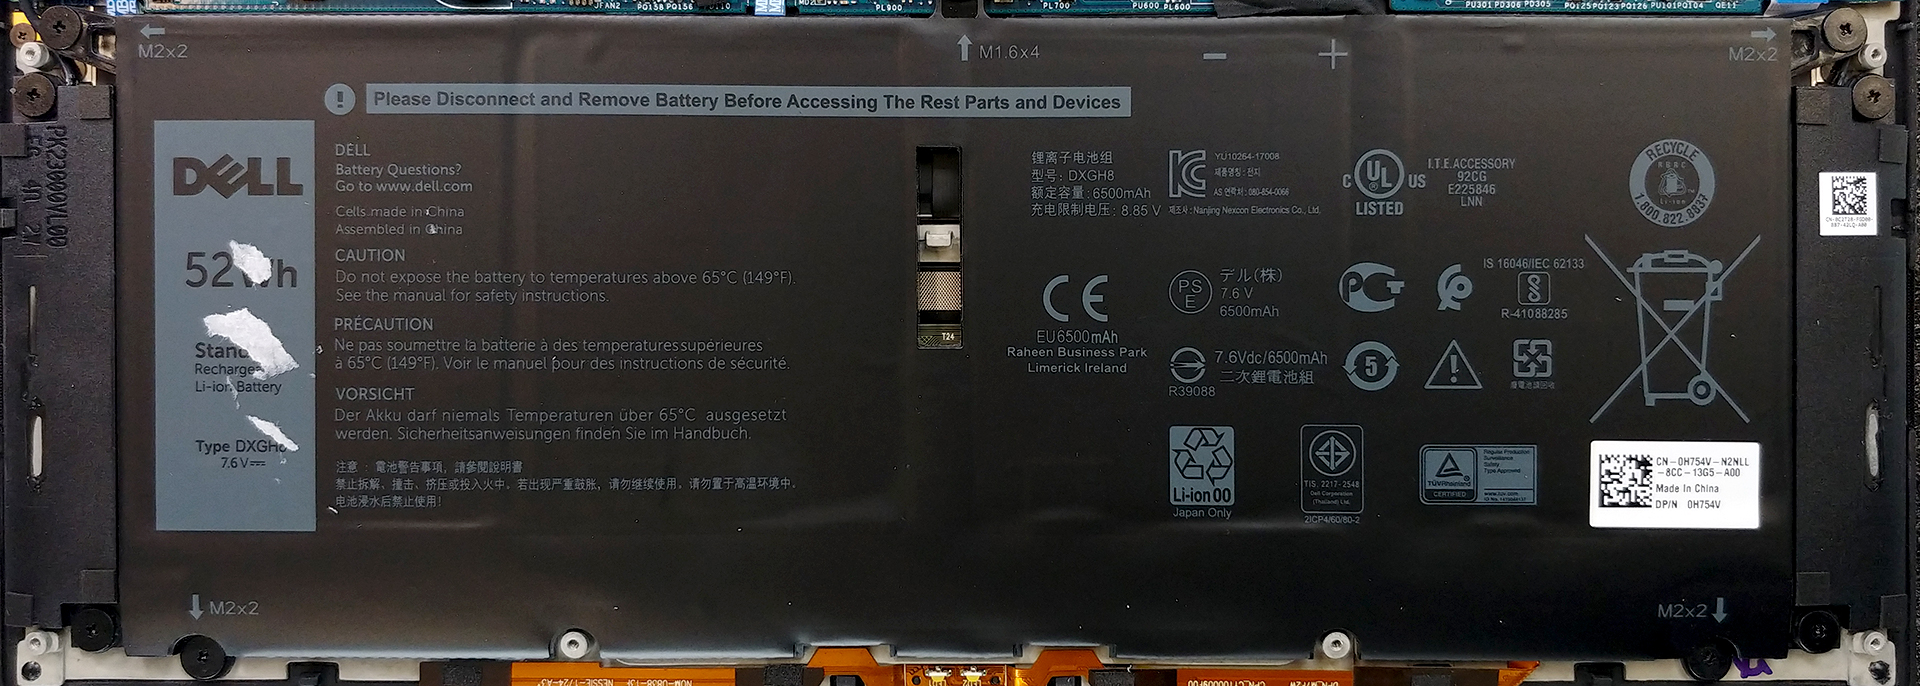
2. Battery
XPS 13 9380’s battery covers half of the space of its chassis. It is a 52Wh unit and can be removed by unscrewing 5 Phillips-head screws. It would also be a good idea to unplug it from the motherboard.
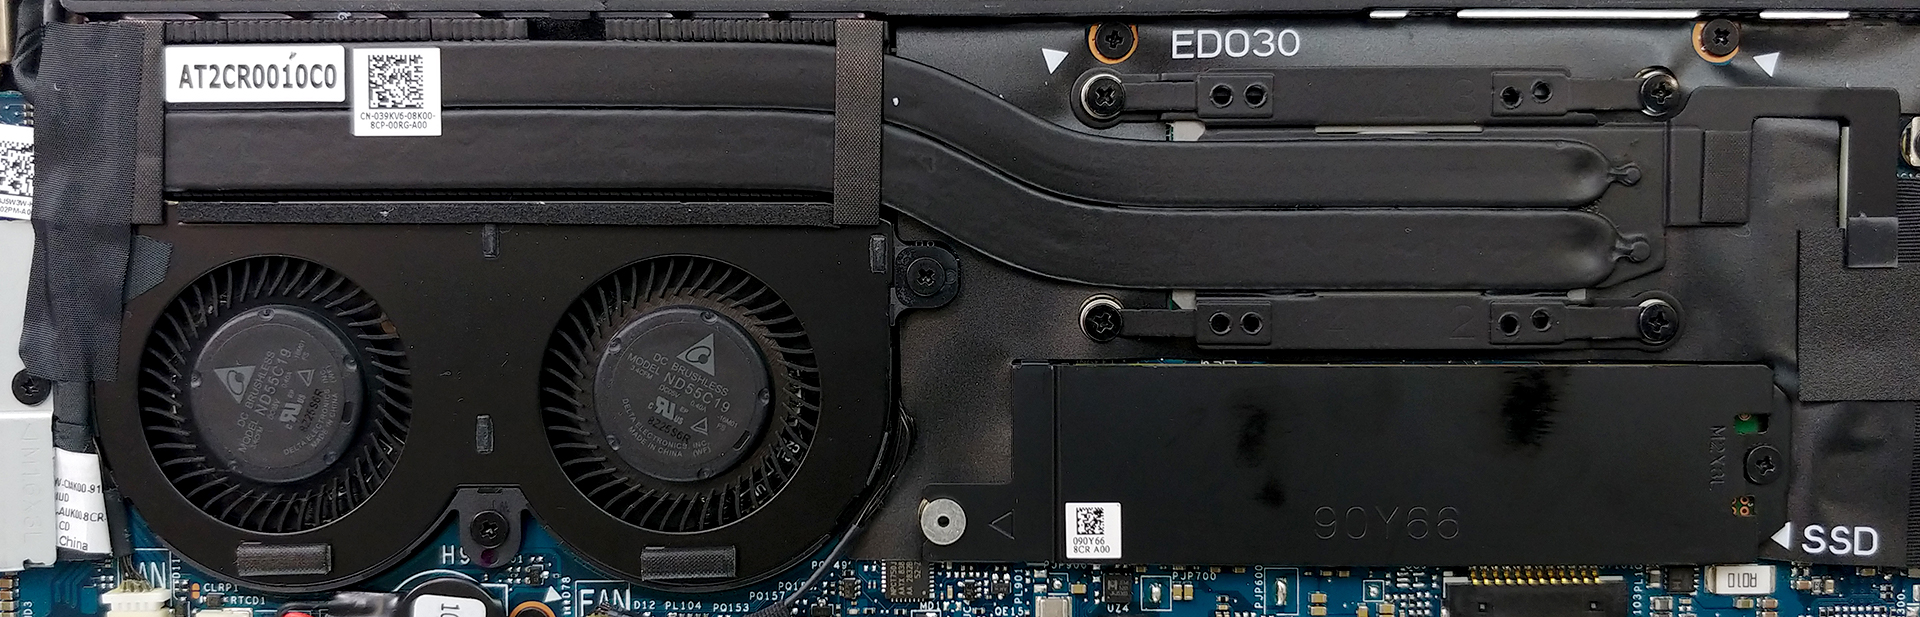
3. Memory and storage
Expectedly, you can’t upgrade the RAM, since it is soldered to the motherboard. Choose carefully before you buy! However, you are able to alter the SSD via a single M.2 PCIe slot.

4. Cooling system
Similarly to its predecessor and successor, the XPS 13 9380 features two eaqually-sized heat pipes and two fans that blow away the heat coming they transfer from the CPU. It is one of the most efficient cooling solutions seen on a 13-inch ultrabook.
Check out all Dell XPS 13 9380 prices and configurations in our Specs System or read more in our In-Depth review.


thanks!