MSI Vector GP77 13V review – quiet and powerful
Disassembly, Upgrade options, and Maintenance
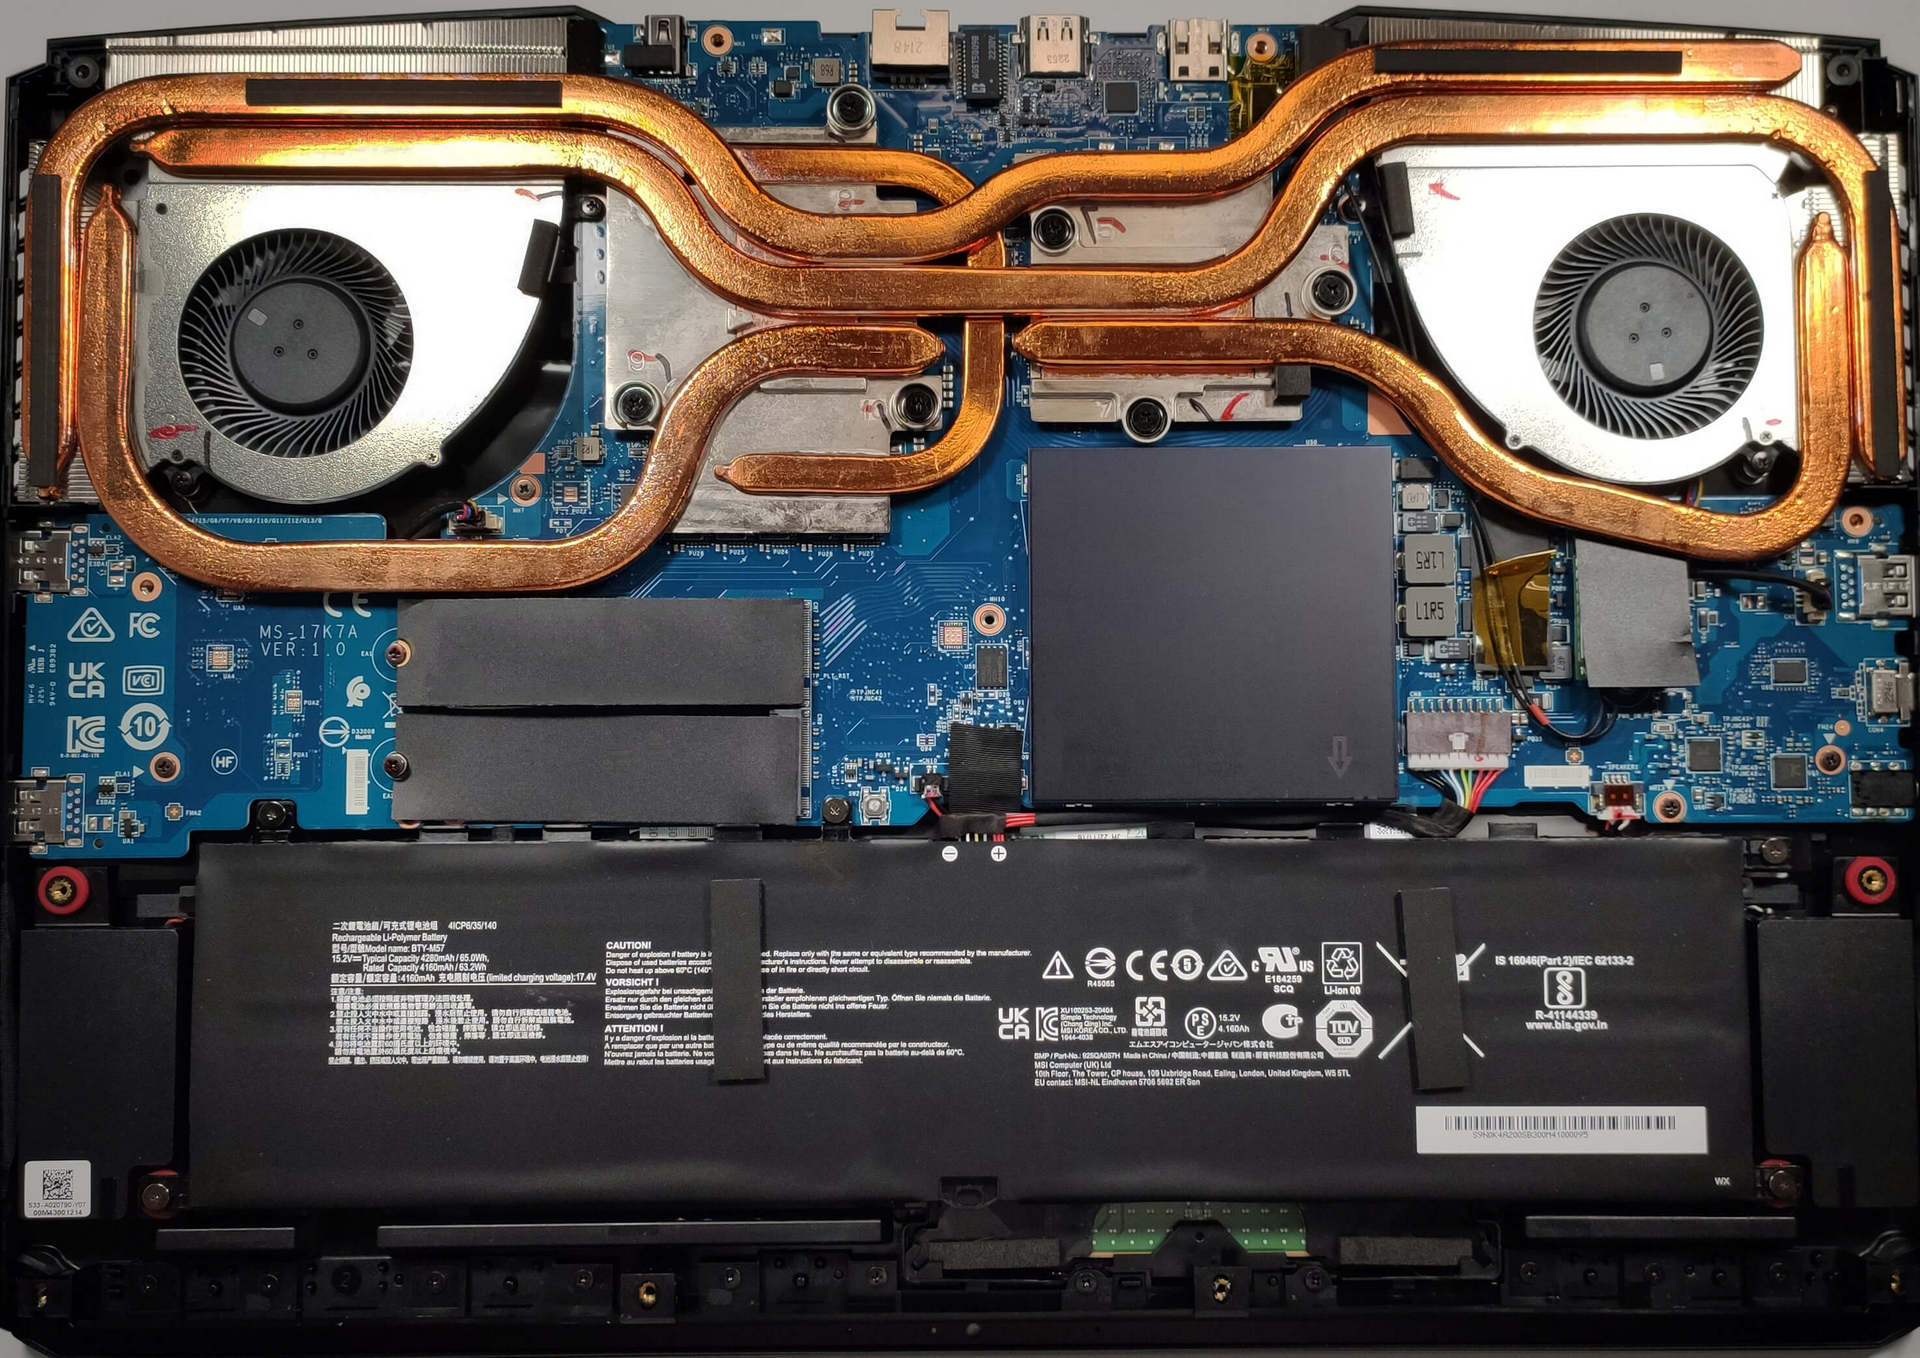
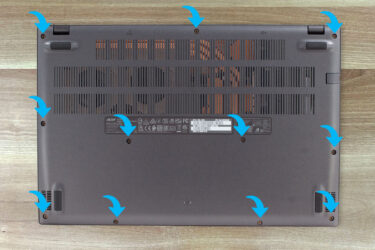
To remove the bottom plate, you need to undo 13 Phillips-head screws. You need to start popping the plate with a pry tool from the back and then from the sides. After that, you have to push the plate slightly to the front in order to remove it.
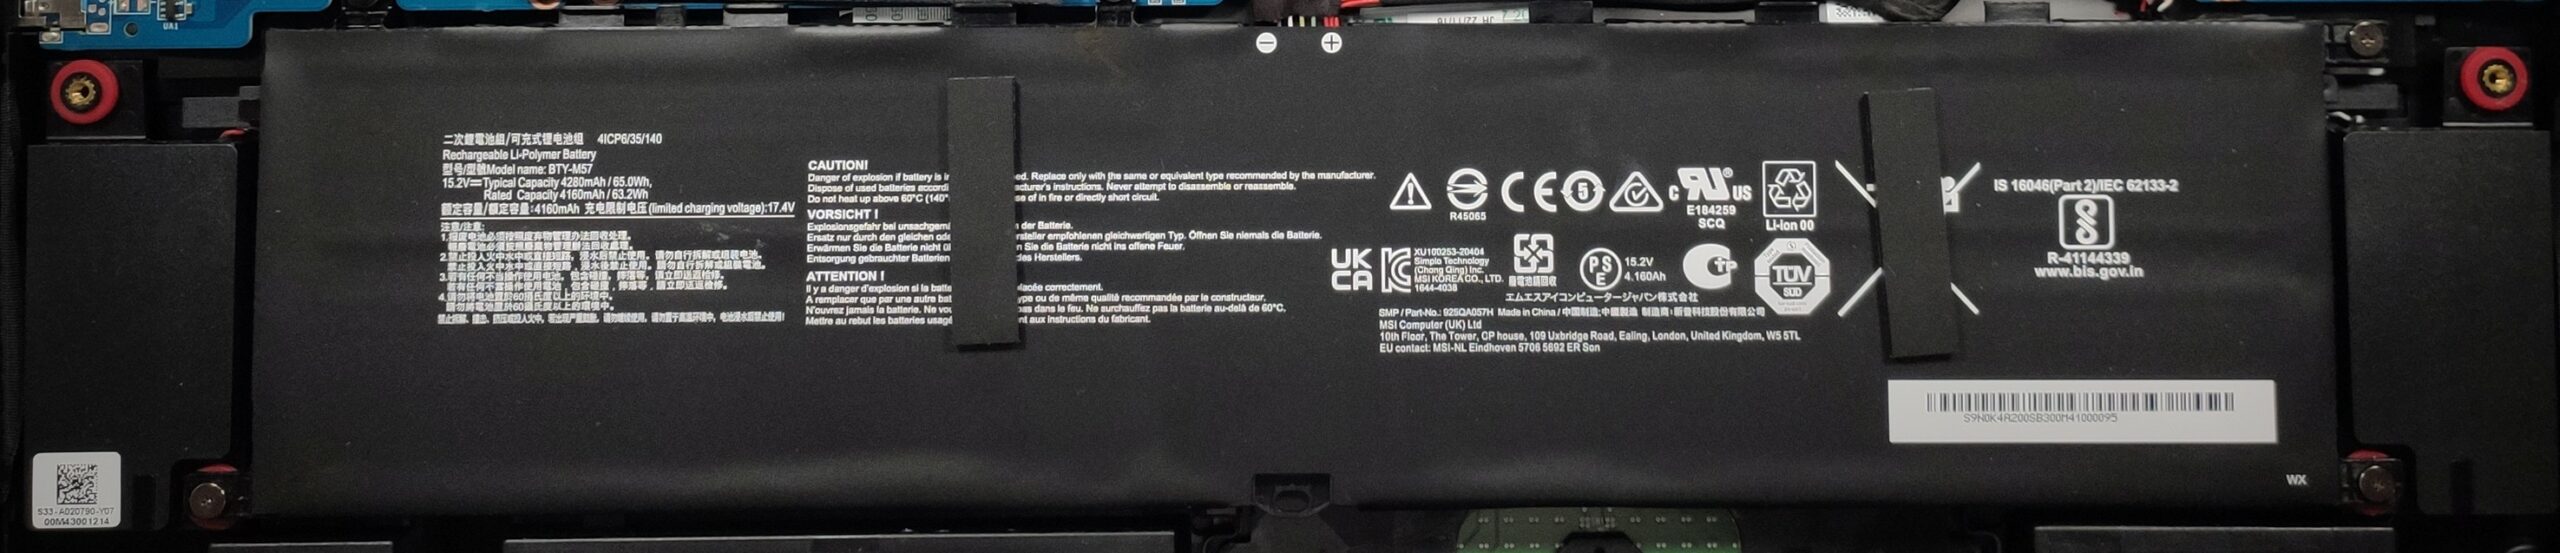
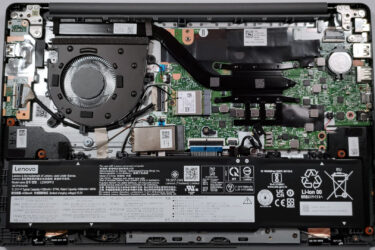
Here we have a 65Wh battery pack. If you want to take it out, undo the five Phillips-head screws, and then just unplug the battery connector.
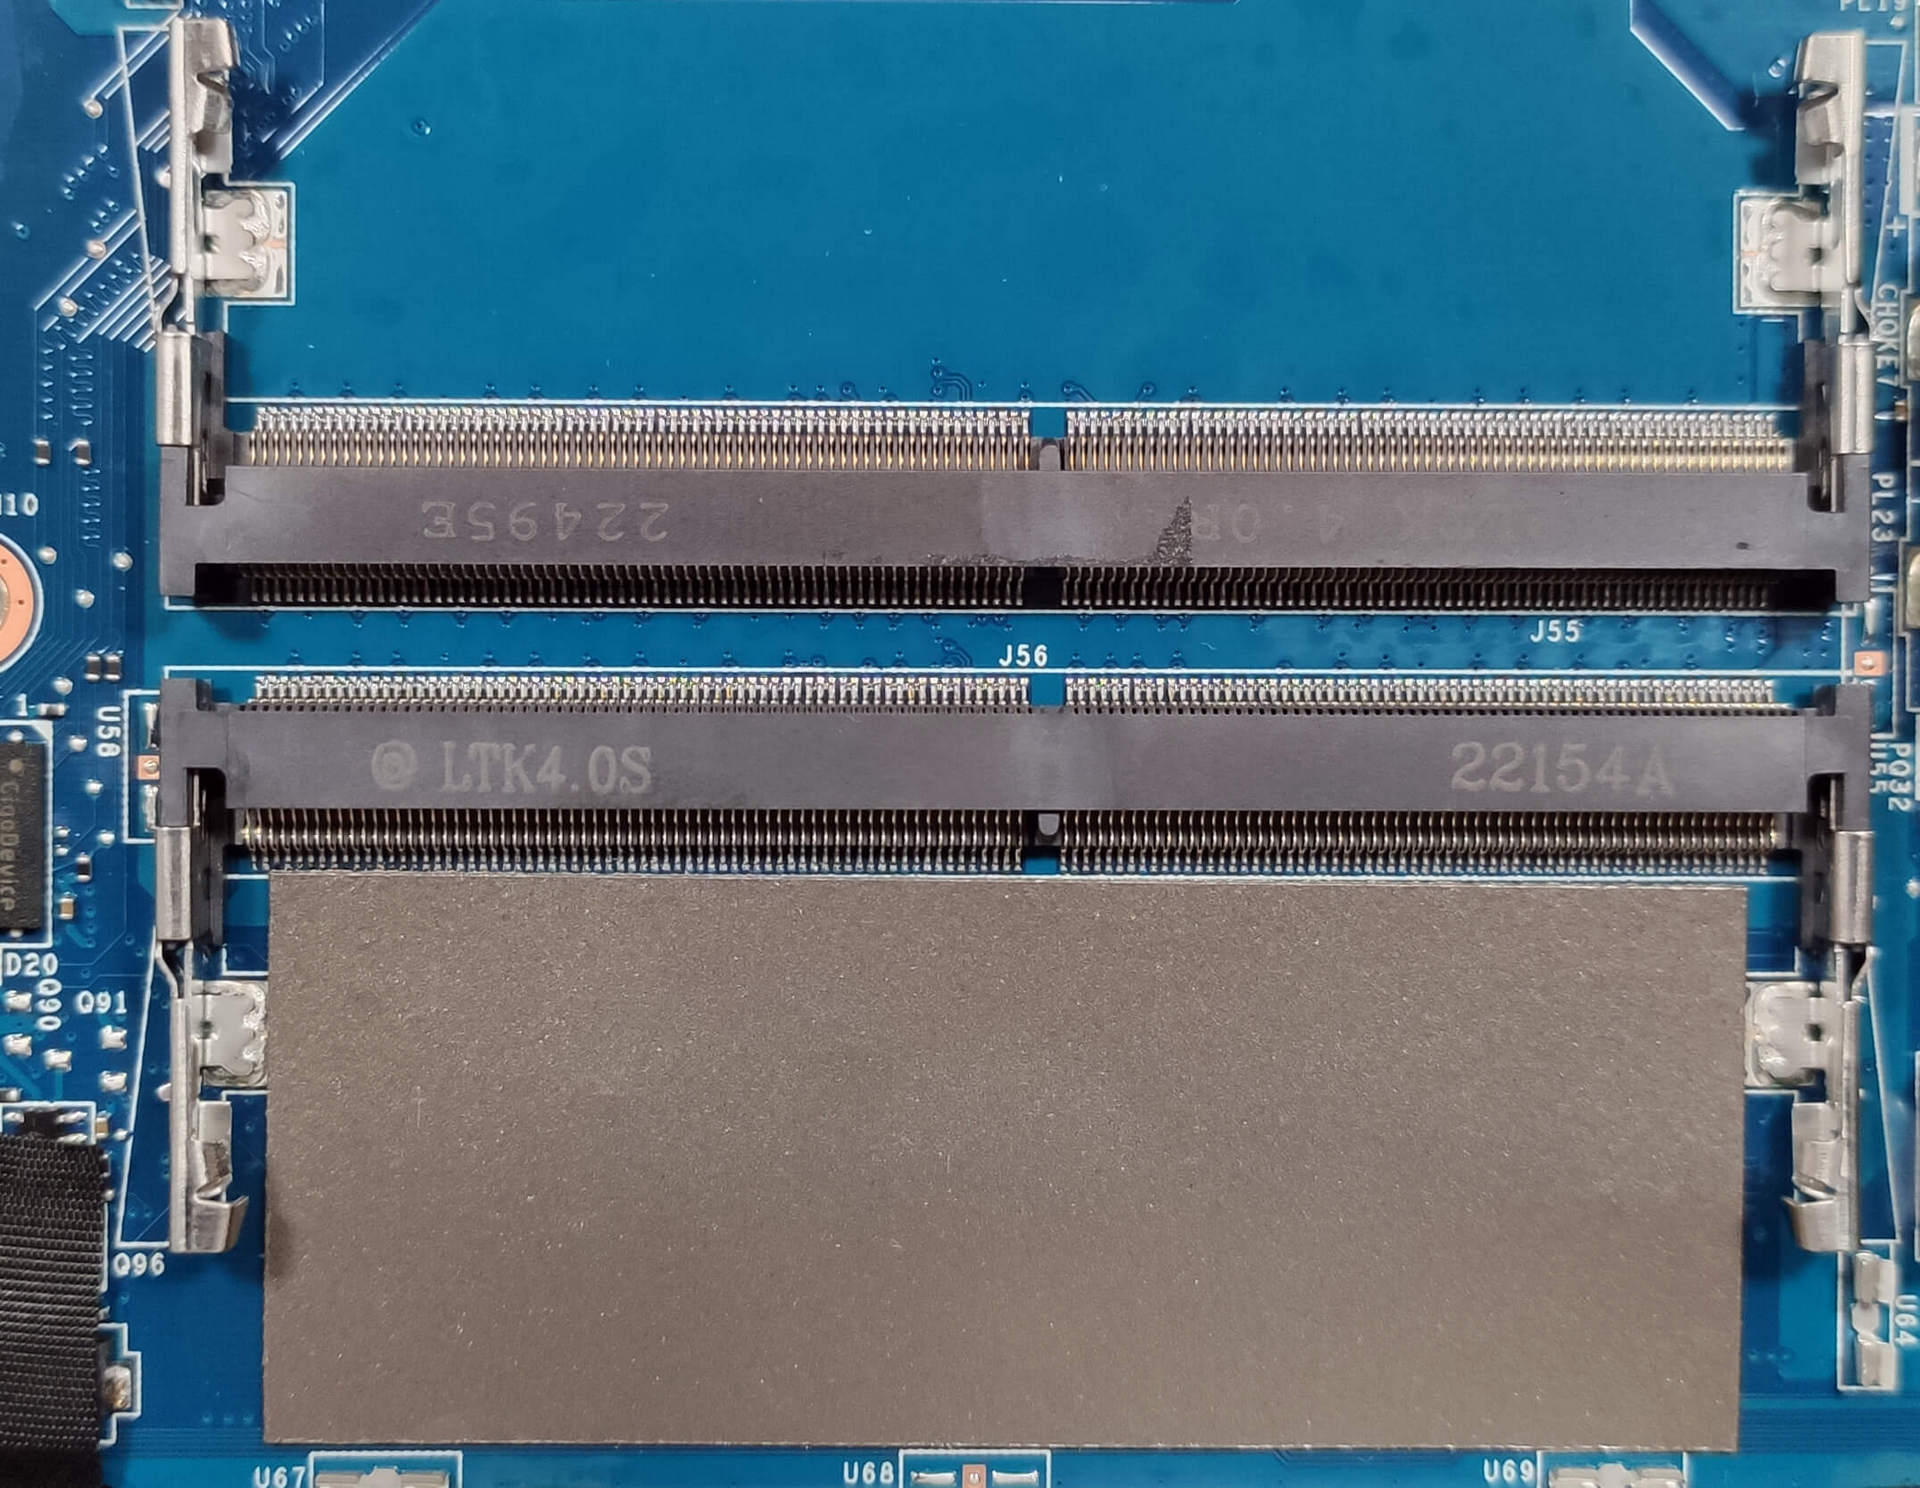
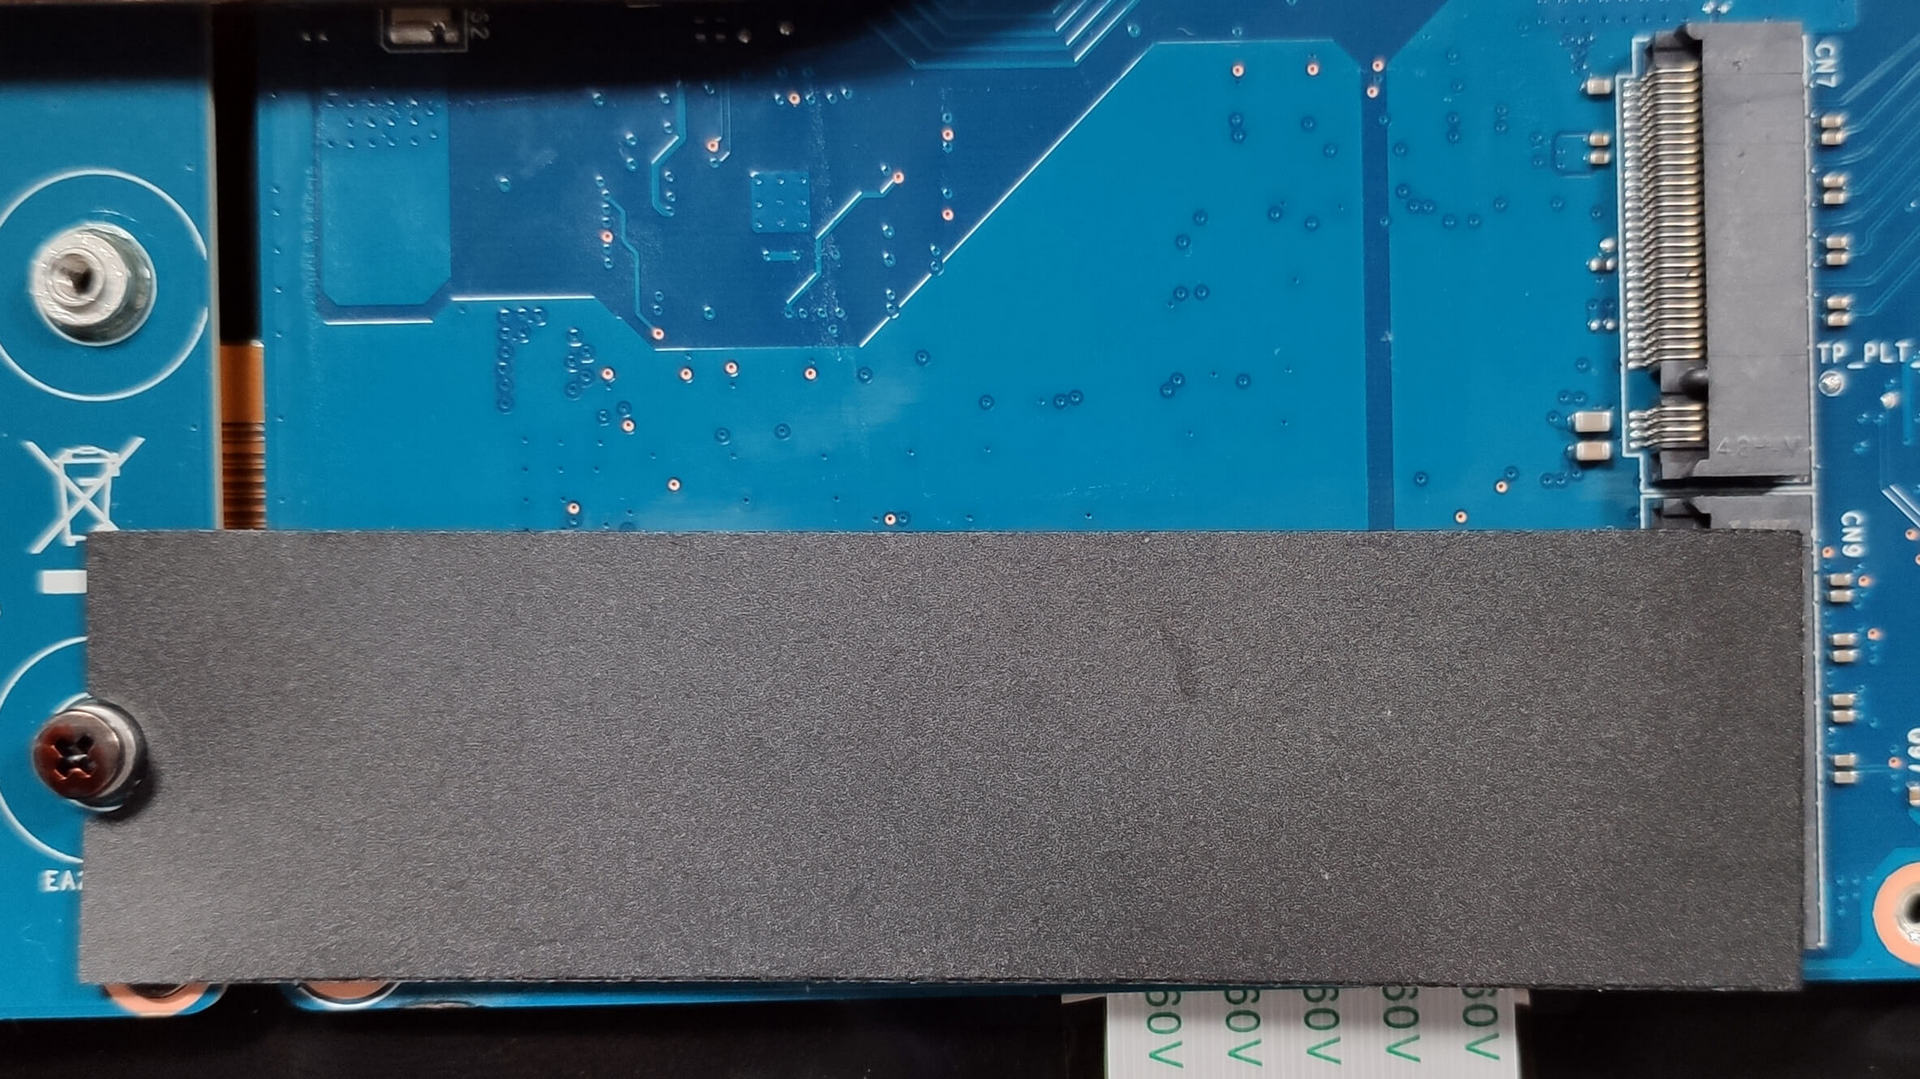
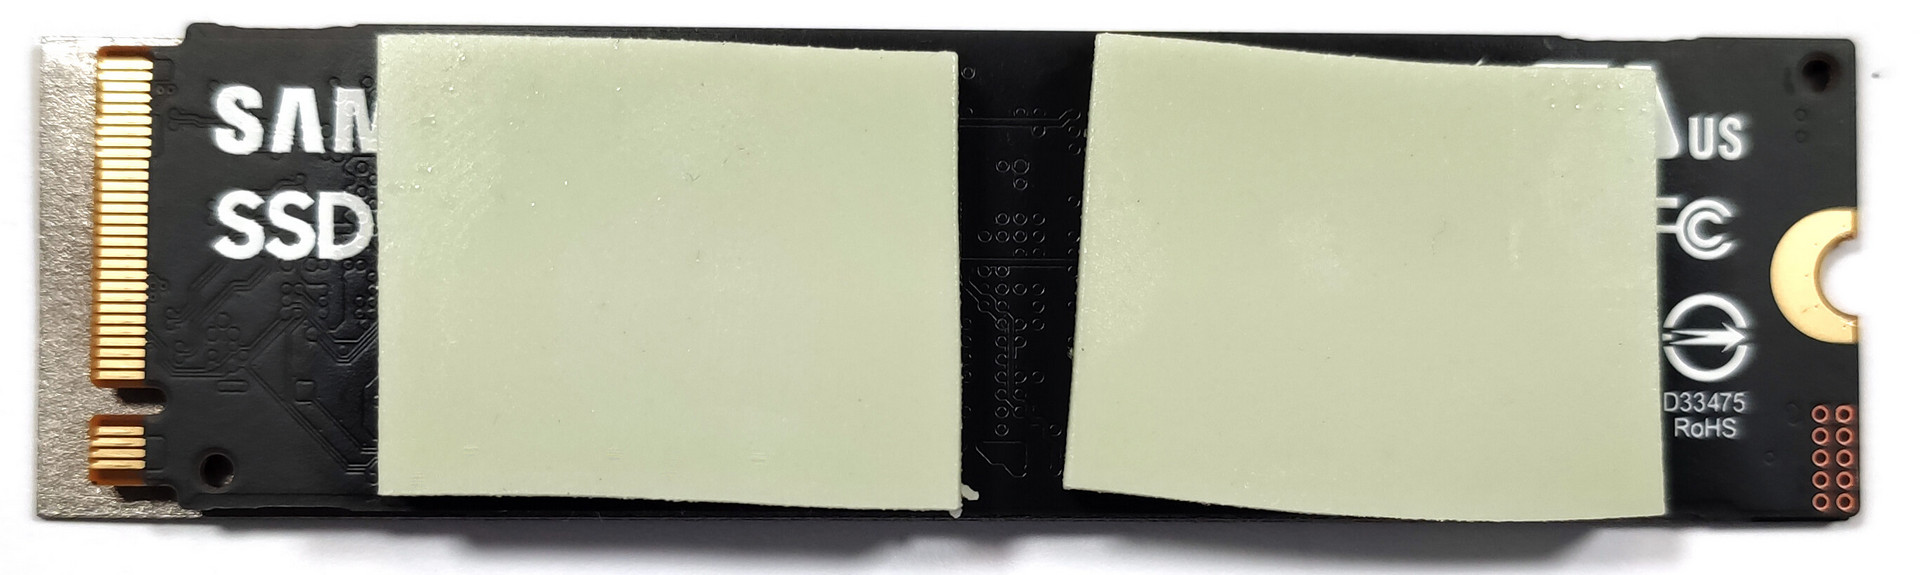
The upgrade options are looking good – two SODIMMs for up to 64GB of DDR5-5200MHz memory in total. For storage, there are two M.2 PCIe x4 slots compatible with Gen 4 SSDs. It’s nice to see that a metal shroud protects the RAM modules and the NVMe is treated with two cooling pads.
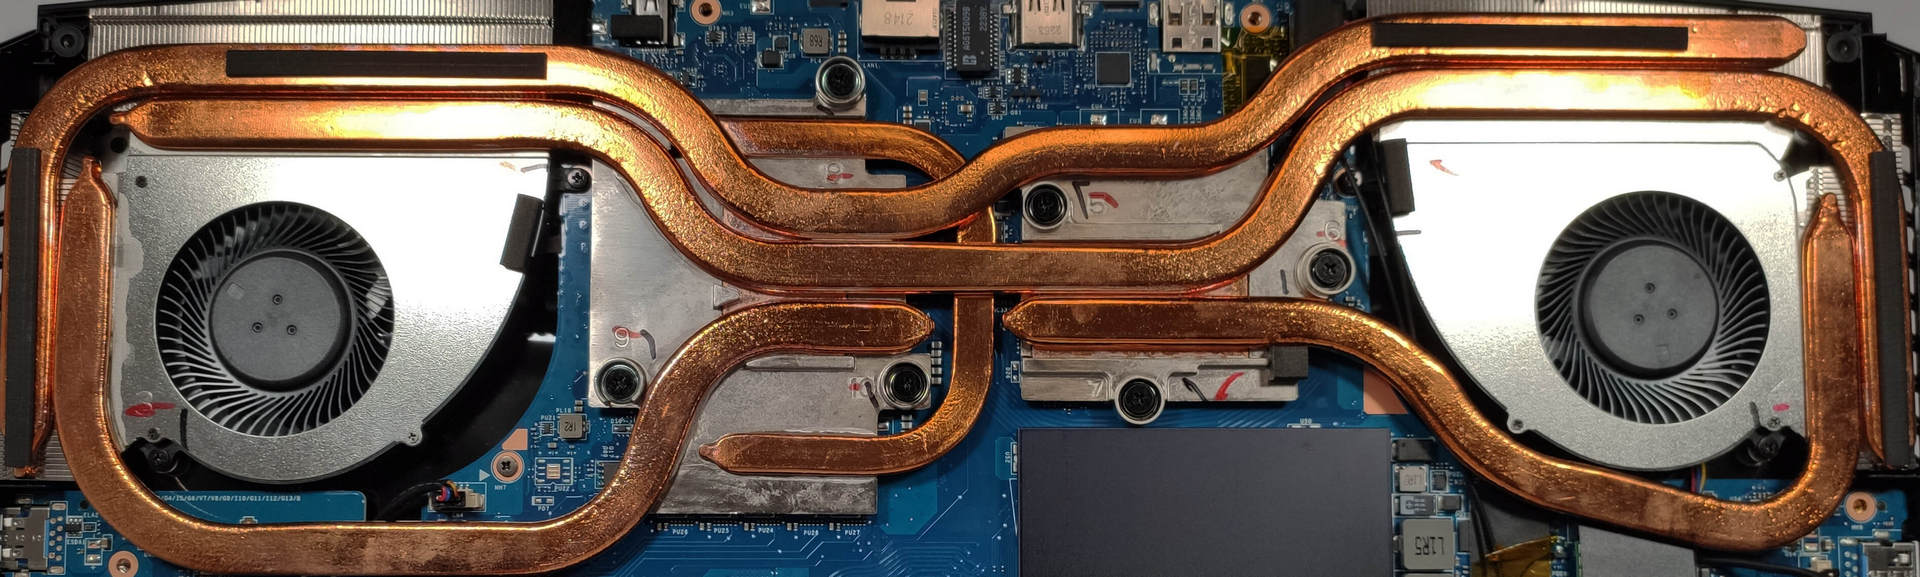
The cooling solution features five large heat pipes in total. Two of them are shared between the CPU and GPU chip and there is a dedicated heat pipe for each of them. One smaller pipe is cooling the VRMs and the GPU memory. last but not least, we can spot two fans.


was curious if you know the length of the cable from the power brick to the computer?
5 feet